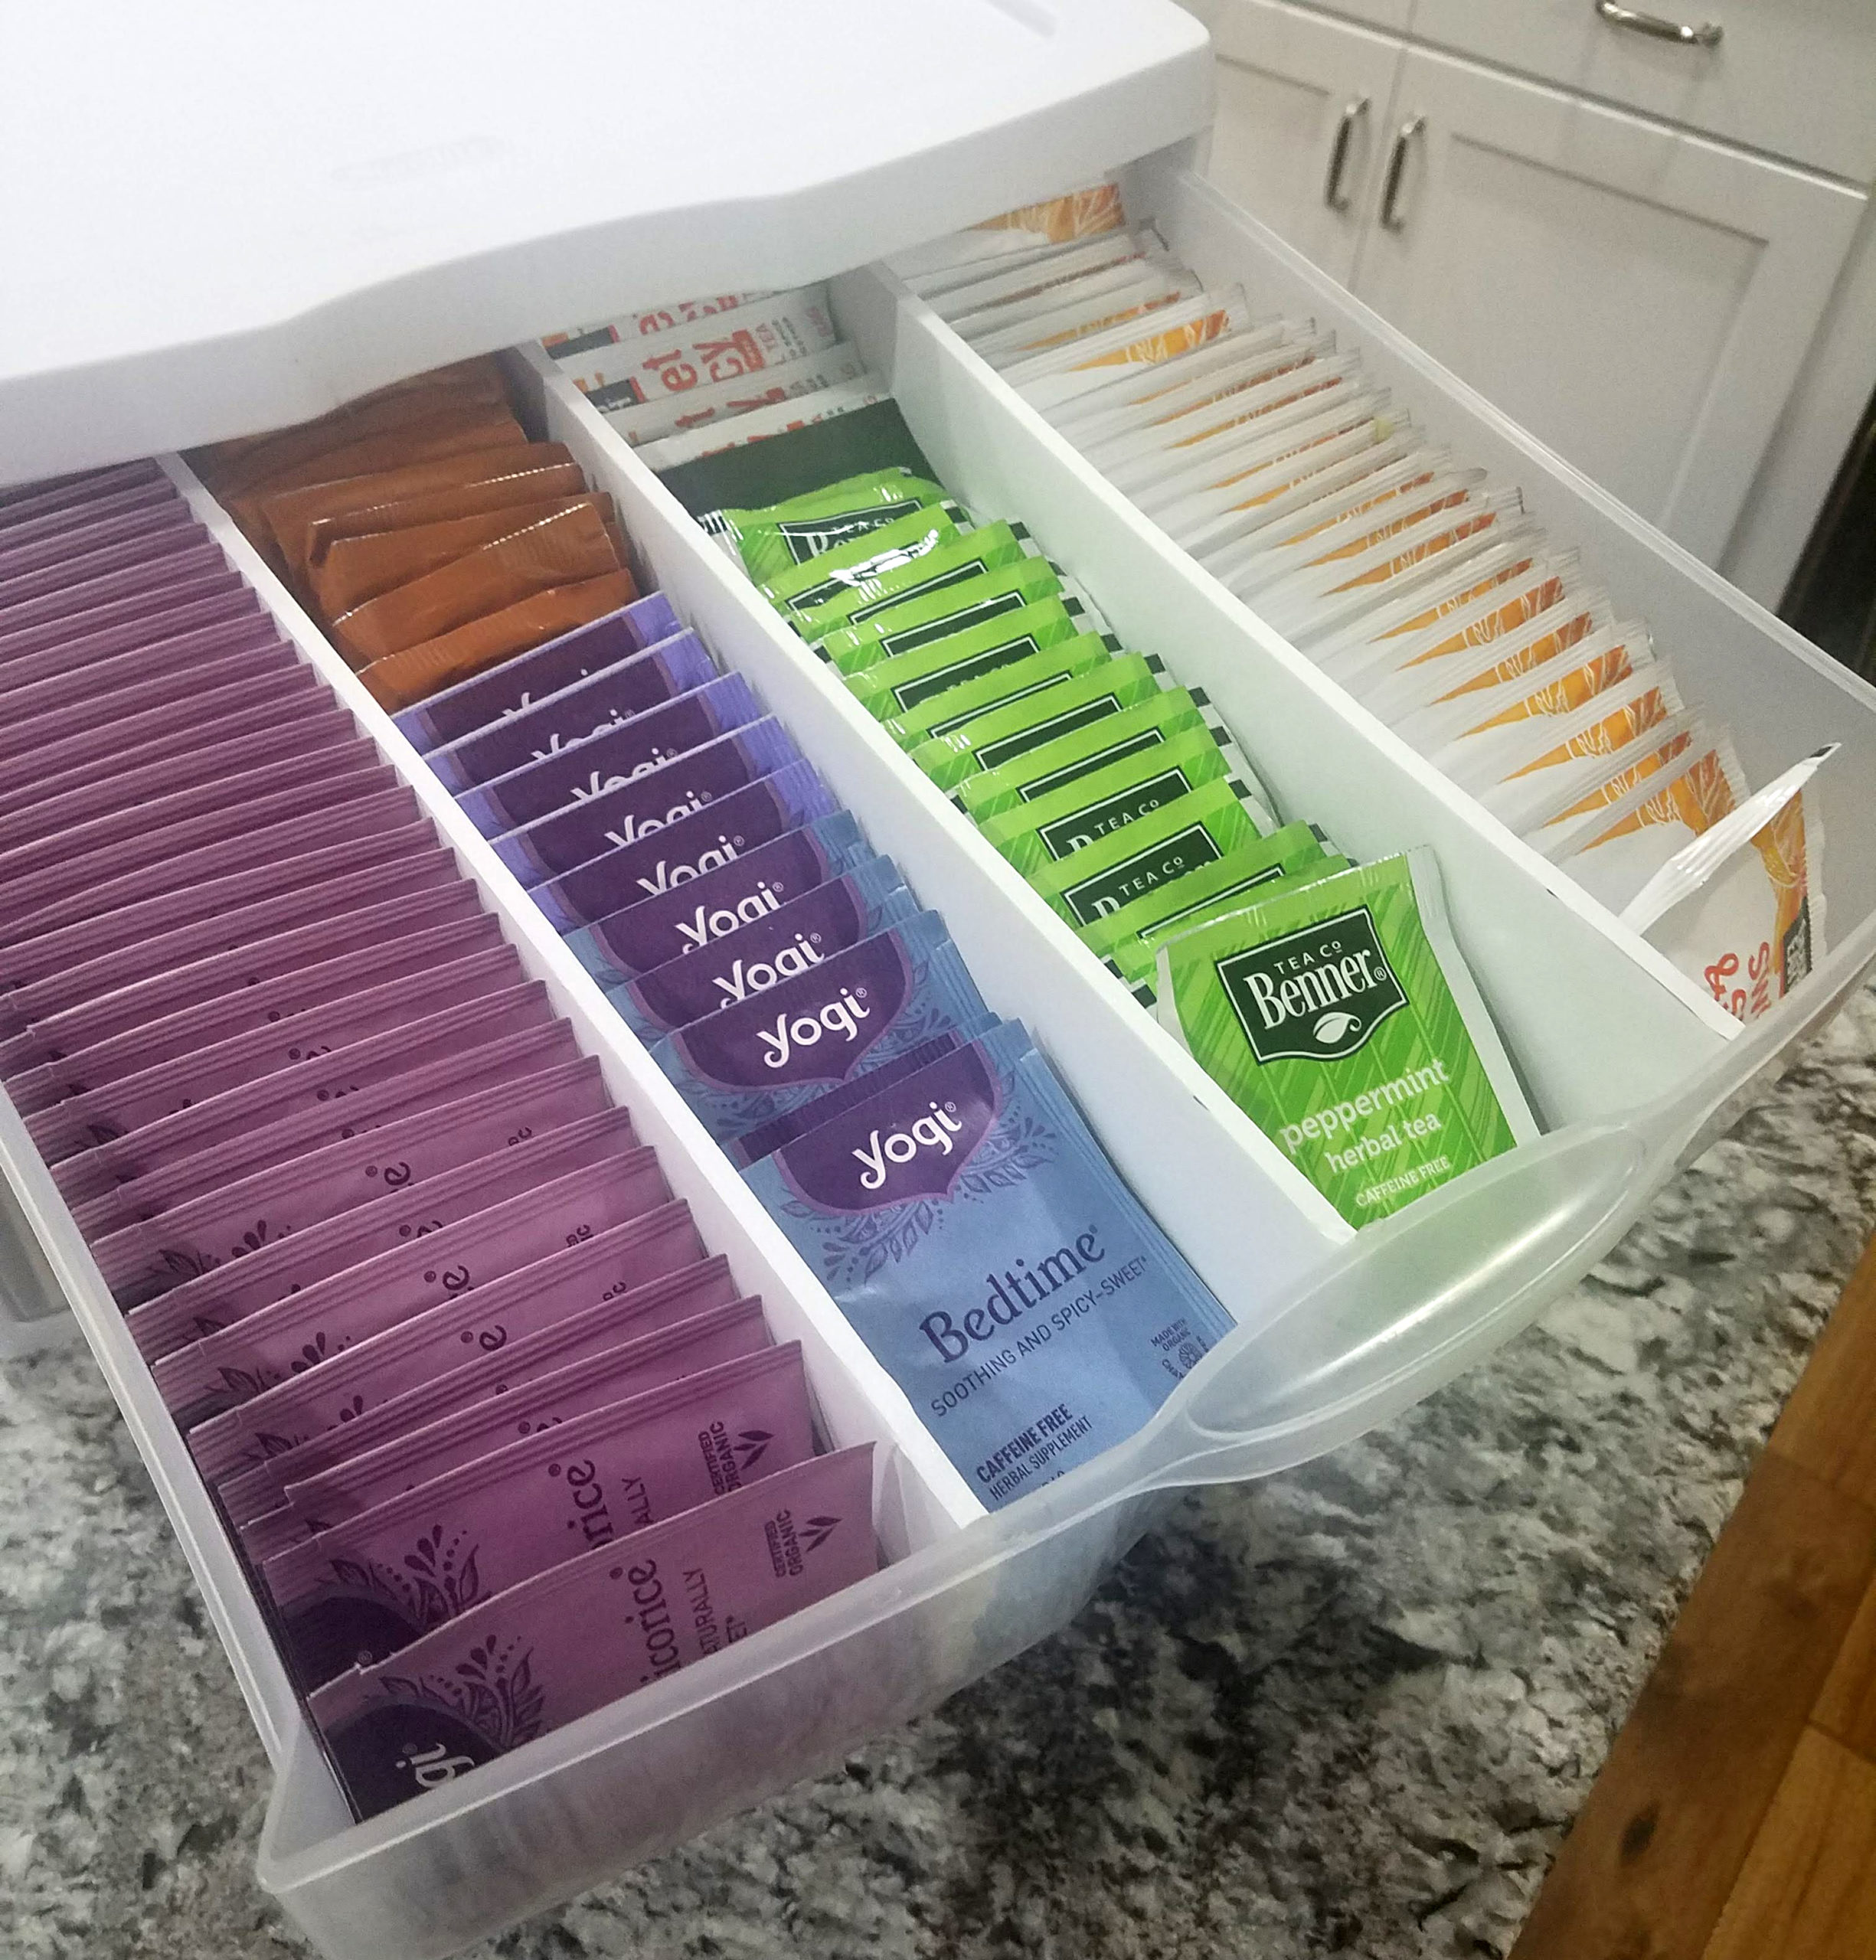
DIY Tea Organizer
This posts may contain affiliate links to Amazon, which means that we may earn a small commission from some of...
30 January, 2020


This posts may contain affiliate links to Amazon, which means that we may earn a small commission from some of...
Want the perfect side dish at Thanksgiving, Christmas or really any of you dinners? This casserole gives a spi...
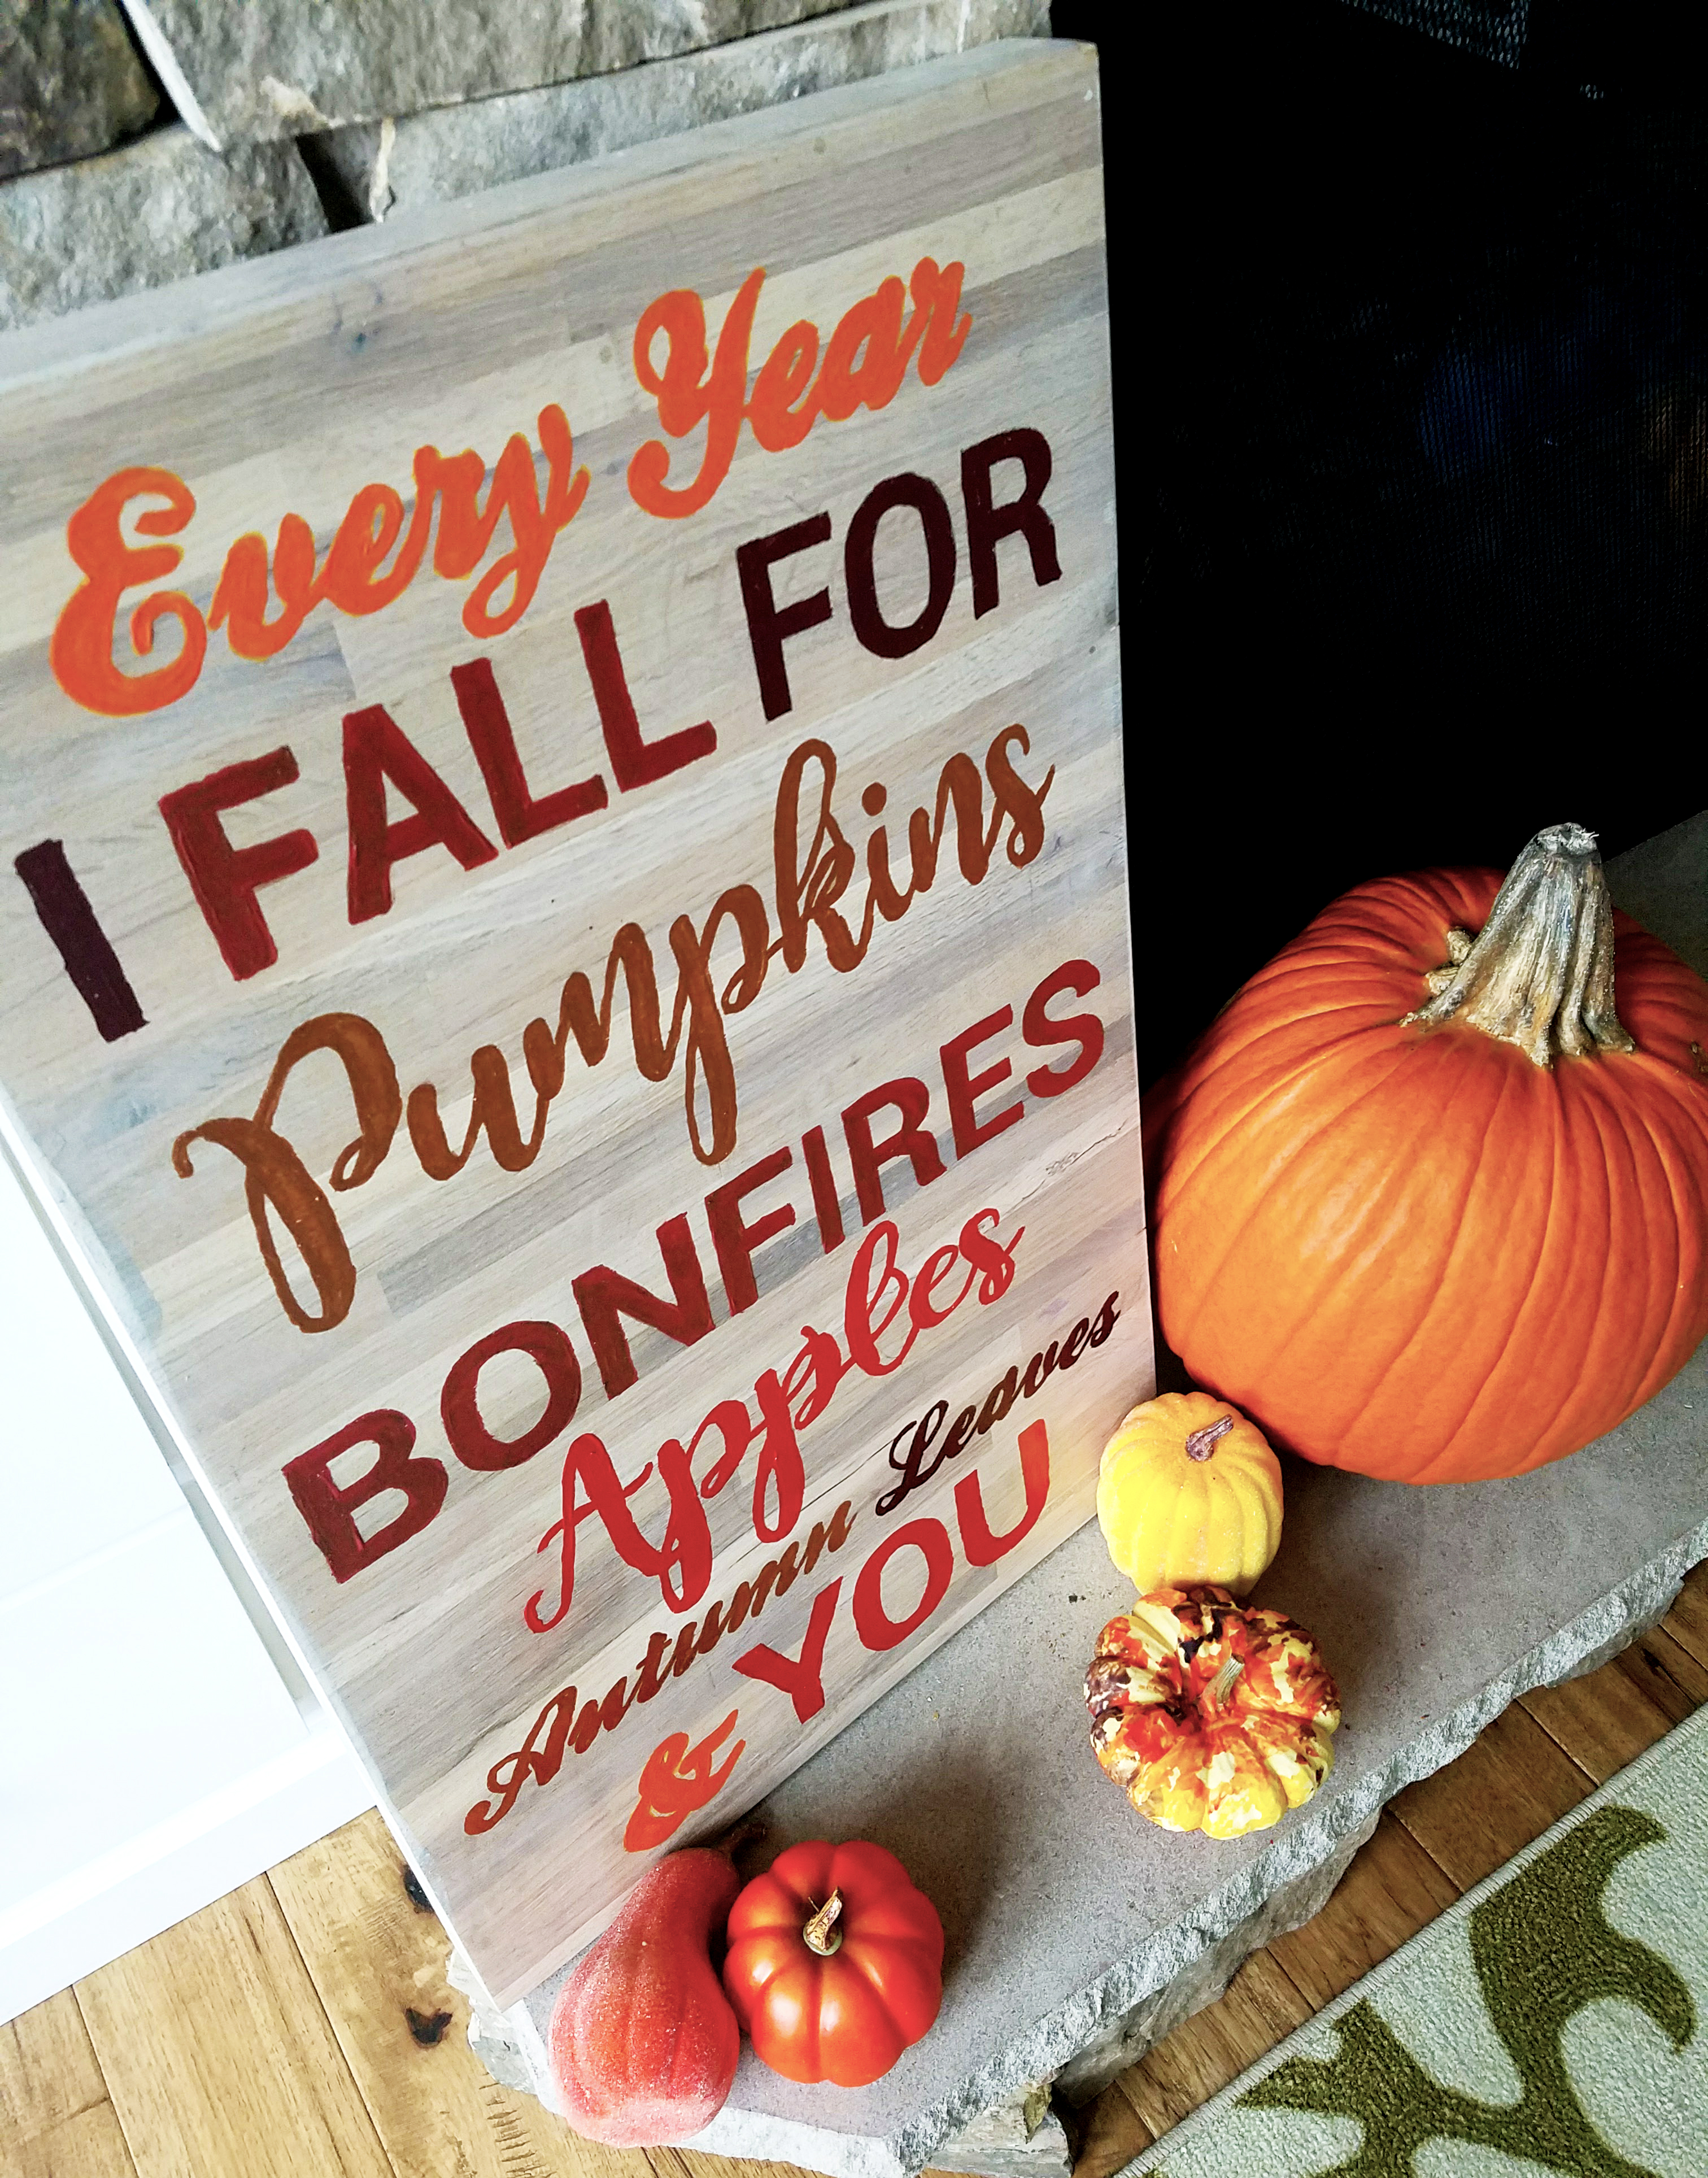
Anyone else feel that this year’s Thanksgiving is taking so long to get here? I have had this conversati...
I live in South Dakota and this winter has been a long one! I. am. over. it. However, despite my hate for the ...

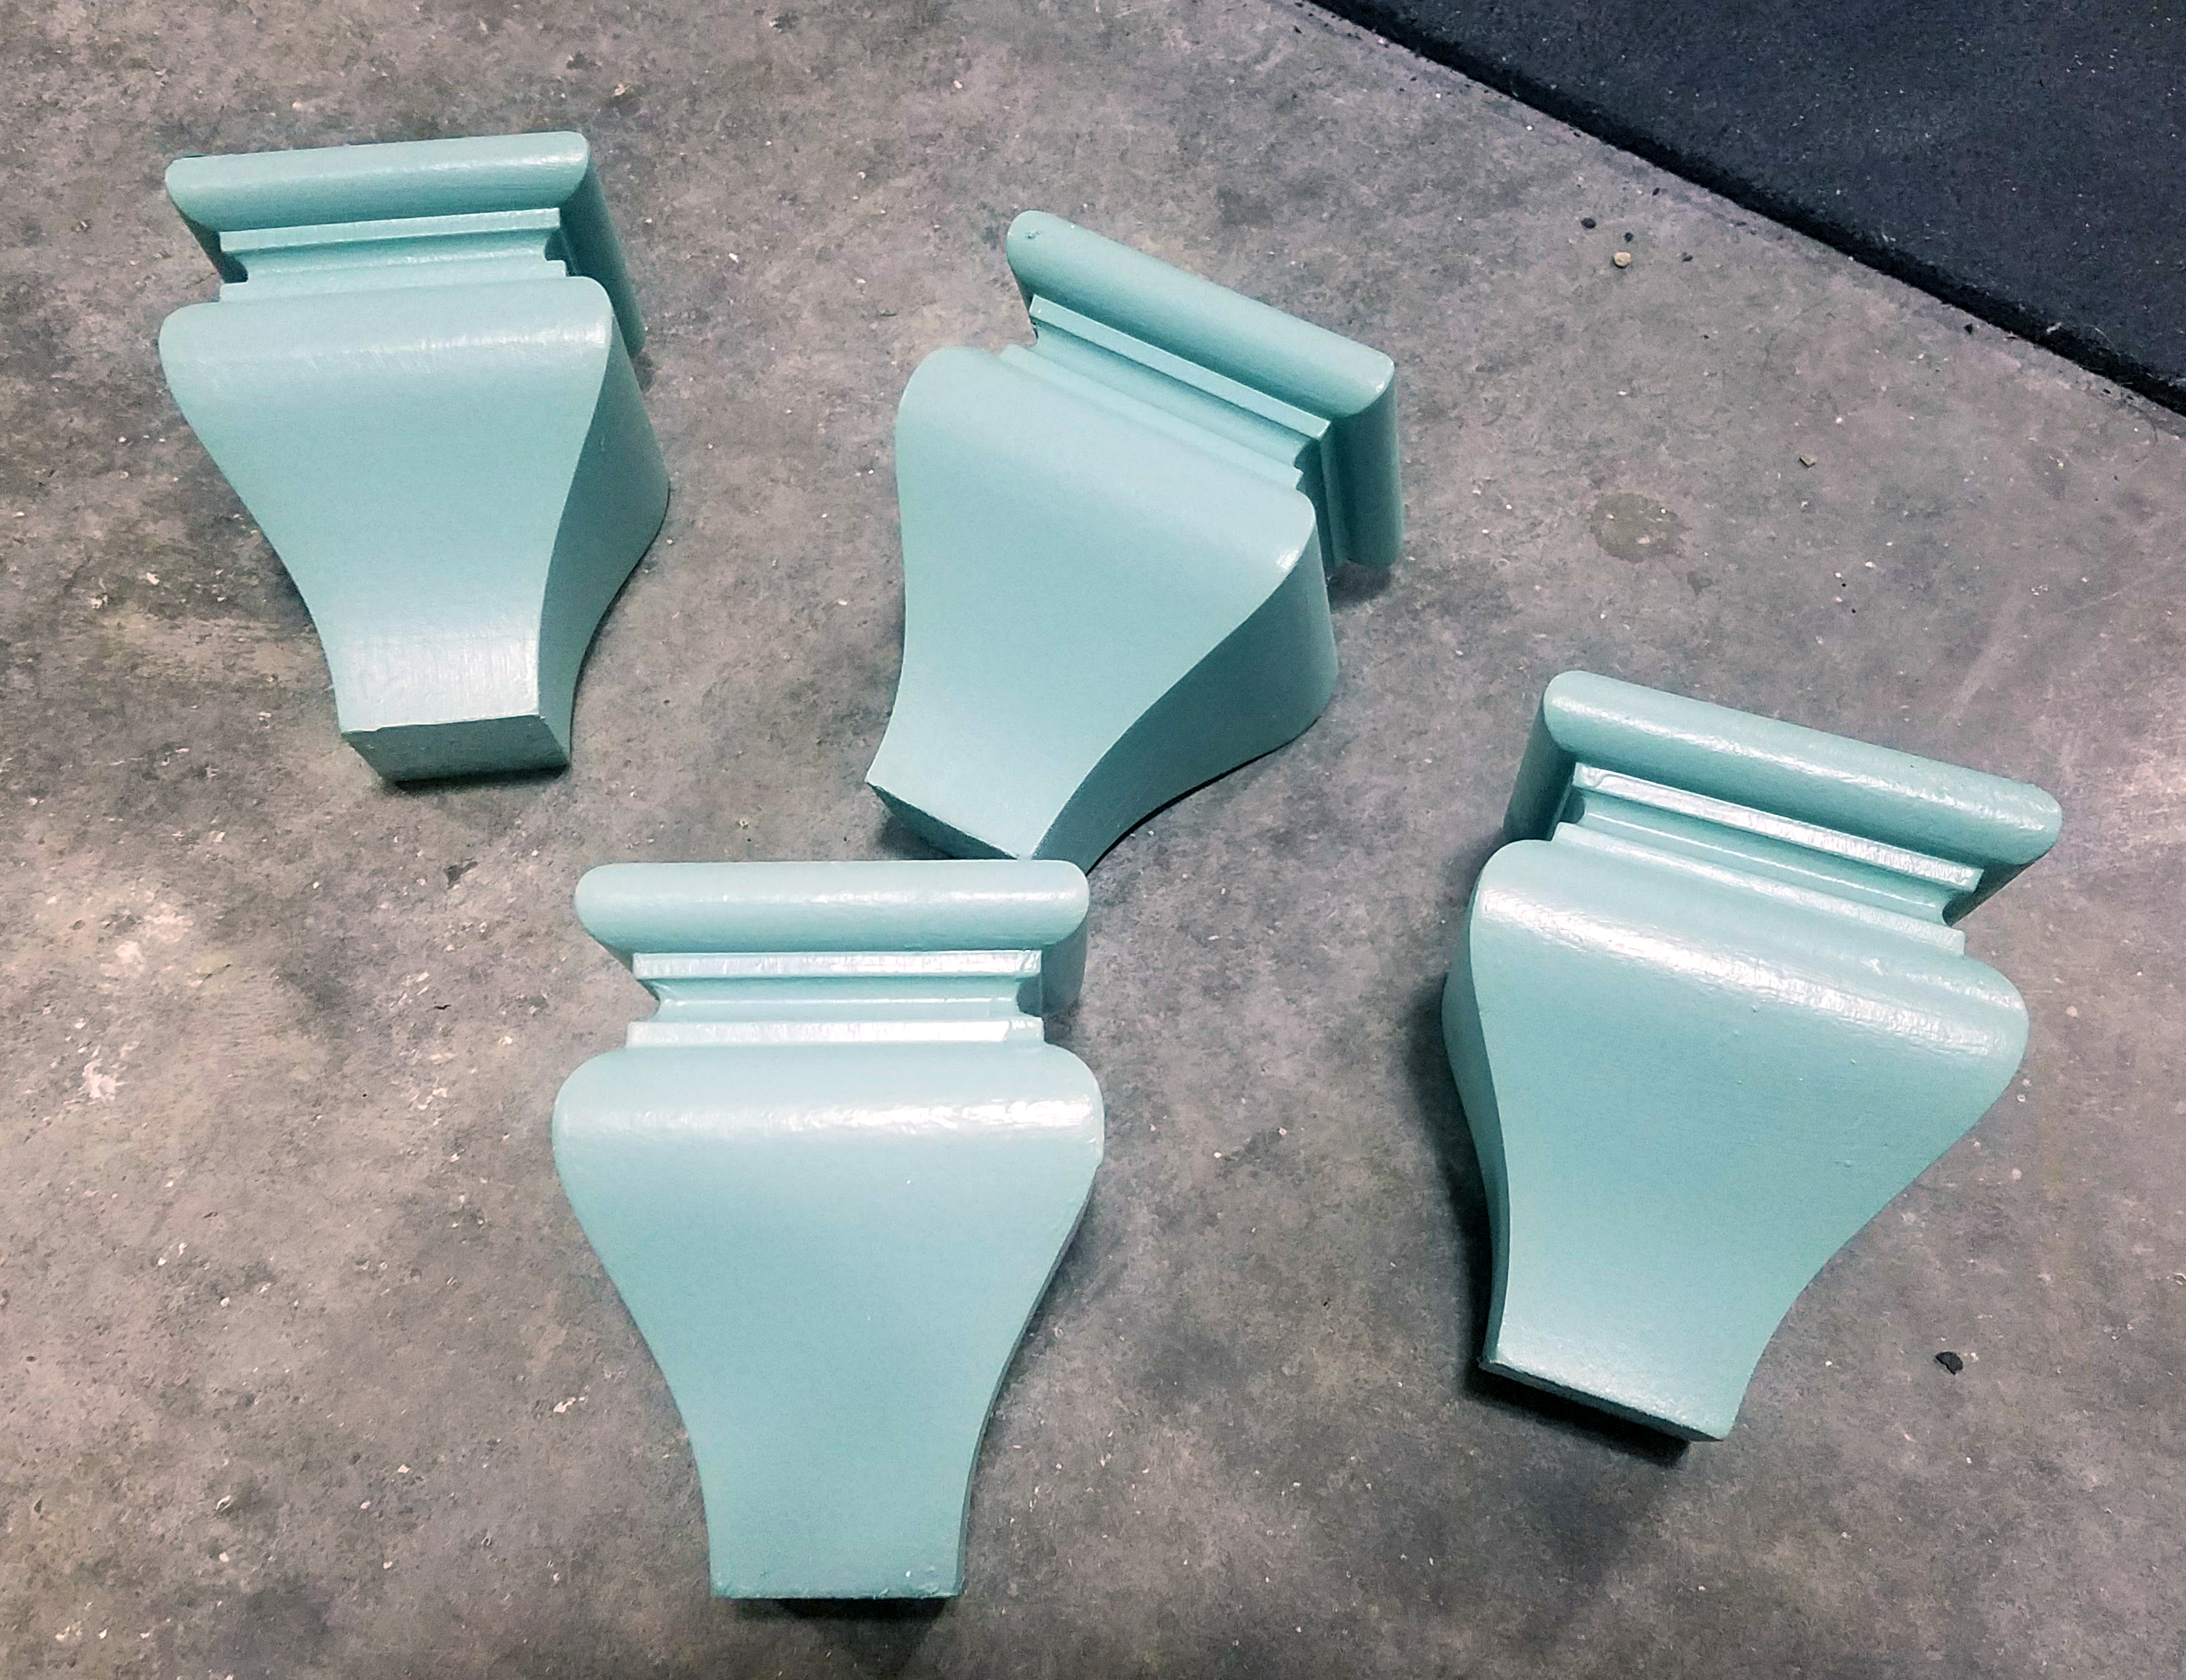
You might remember a post I wrote last year on How To Add Bun Feet To Hollow Bottom Furniture, well I hav...
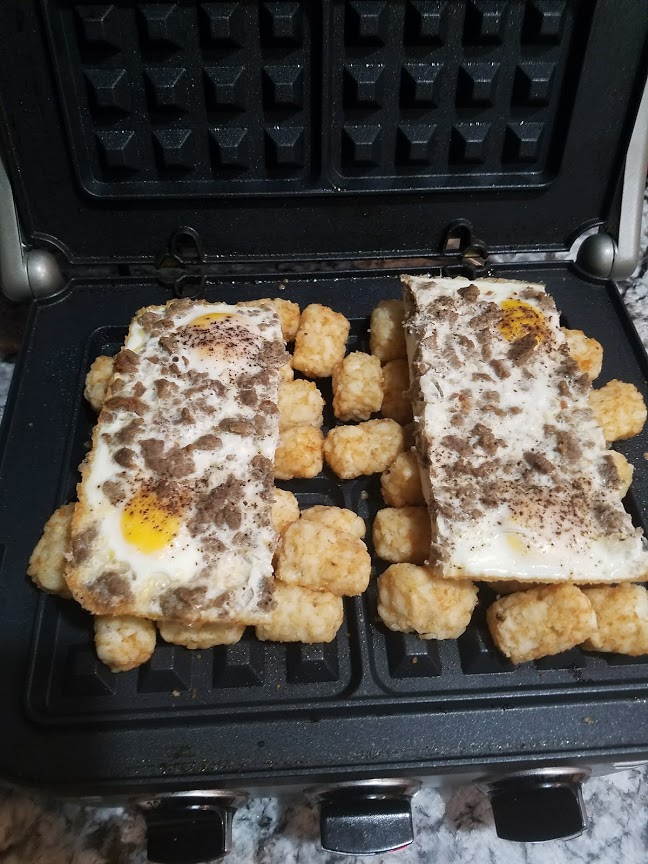
Ok, I know what you all are thinking…what in the world is going on with this recipe?!?! I am always on t...
Disclaimer- The title of this blog is really the best one I could come up with. I am not exactly sure if the t...
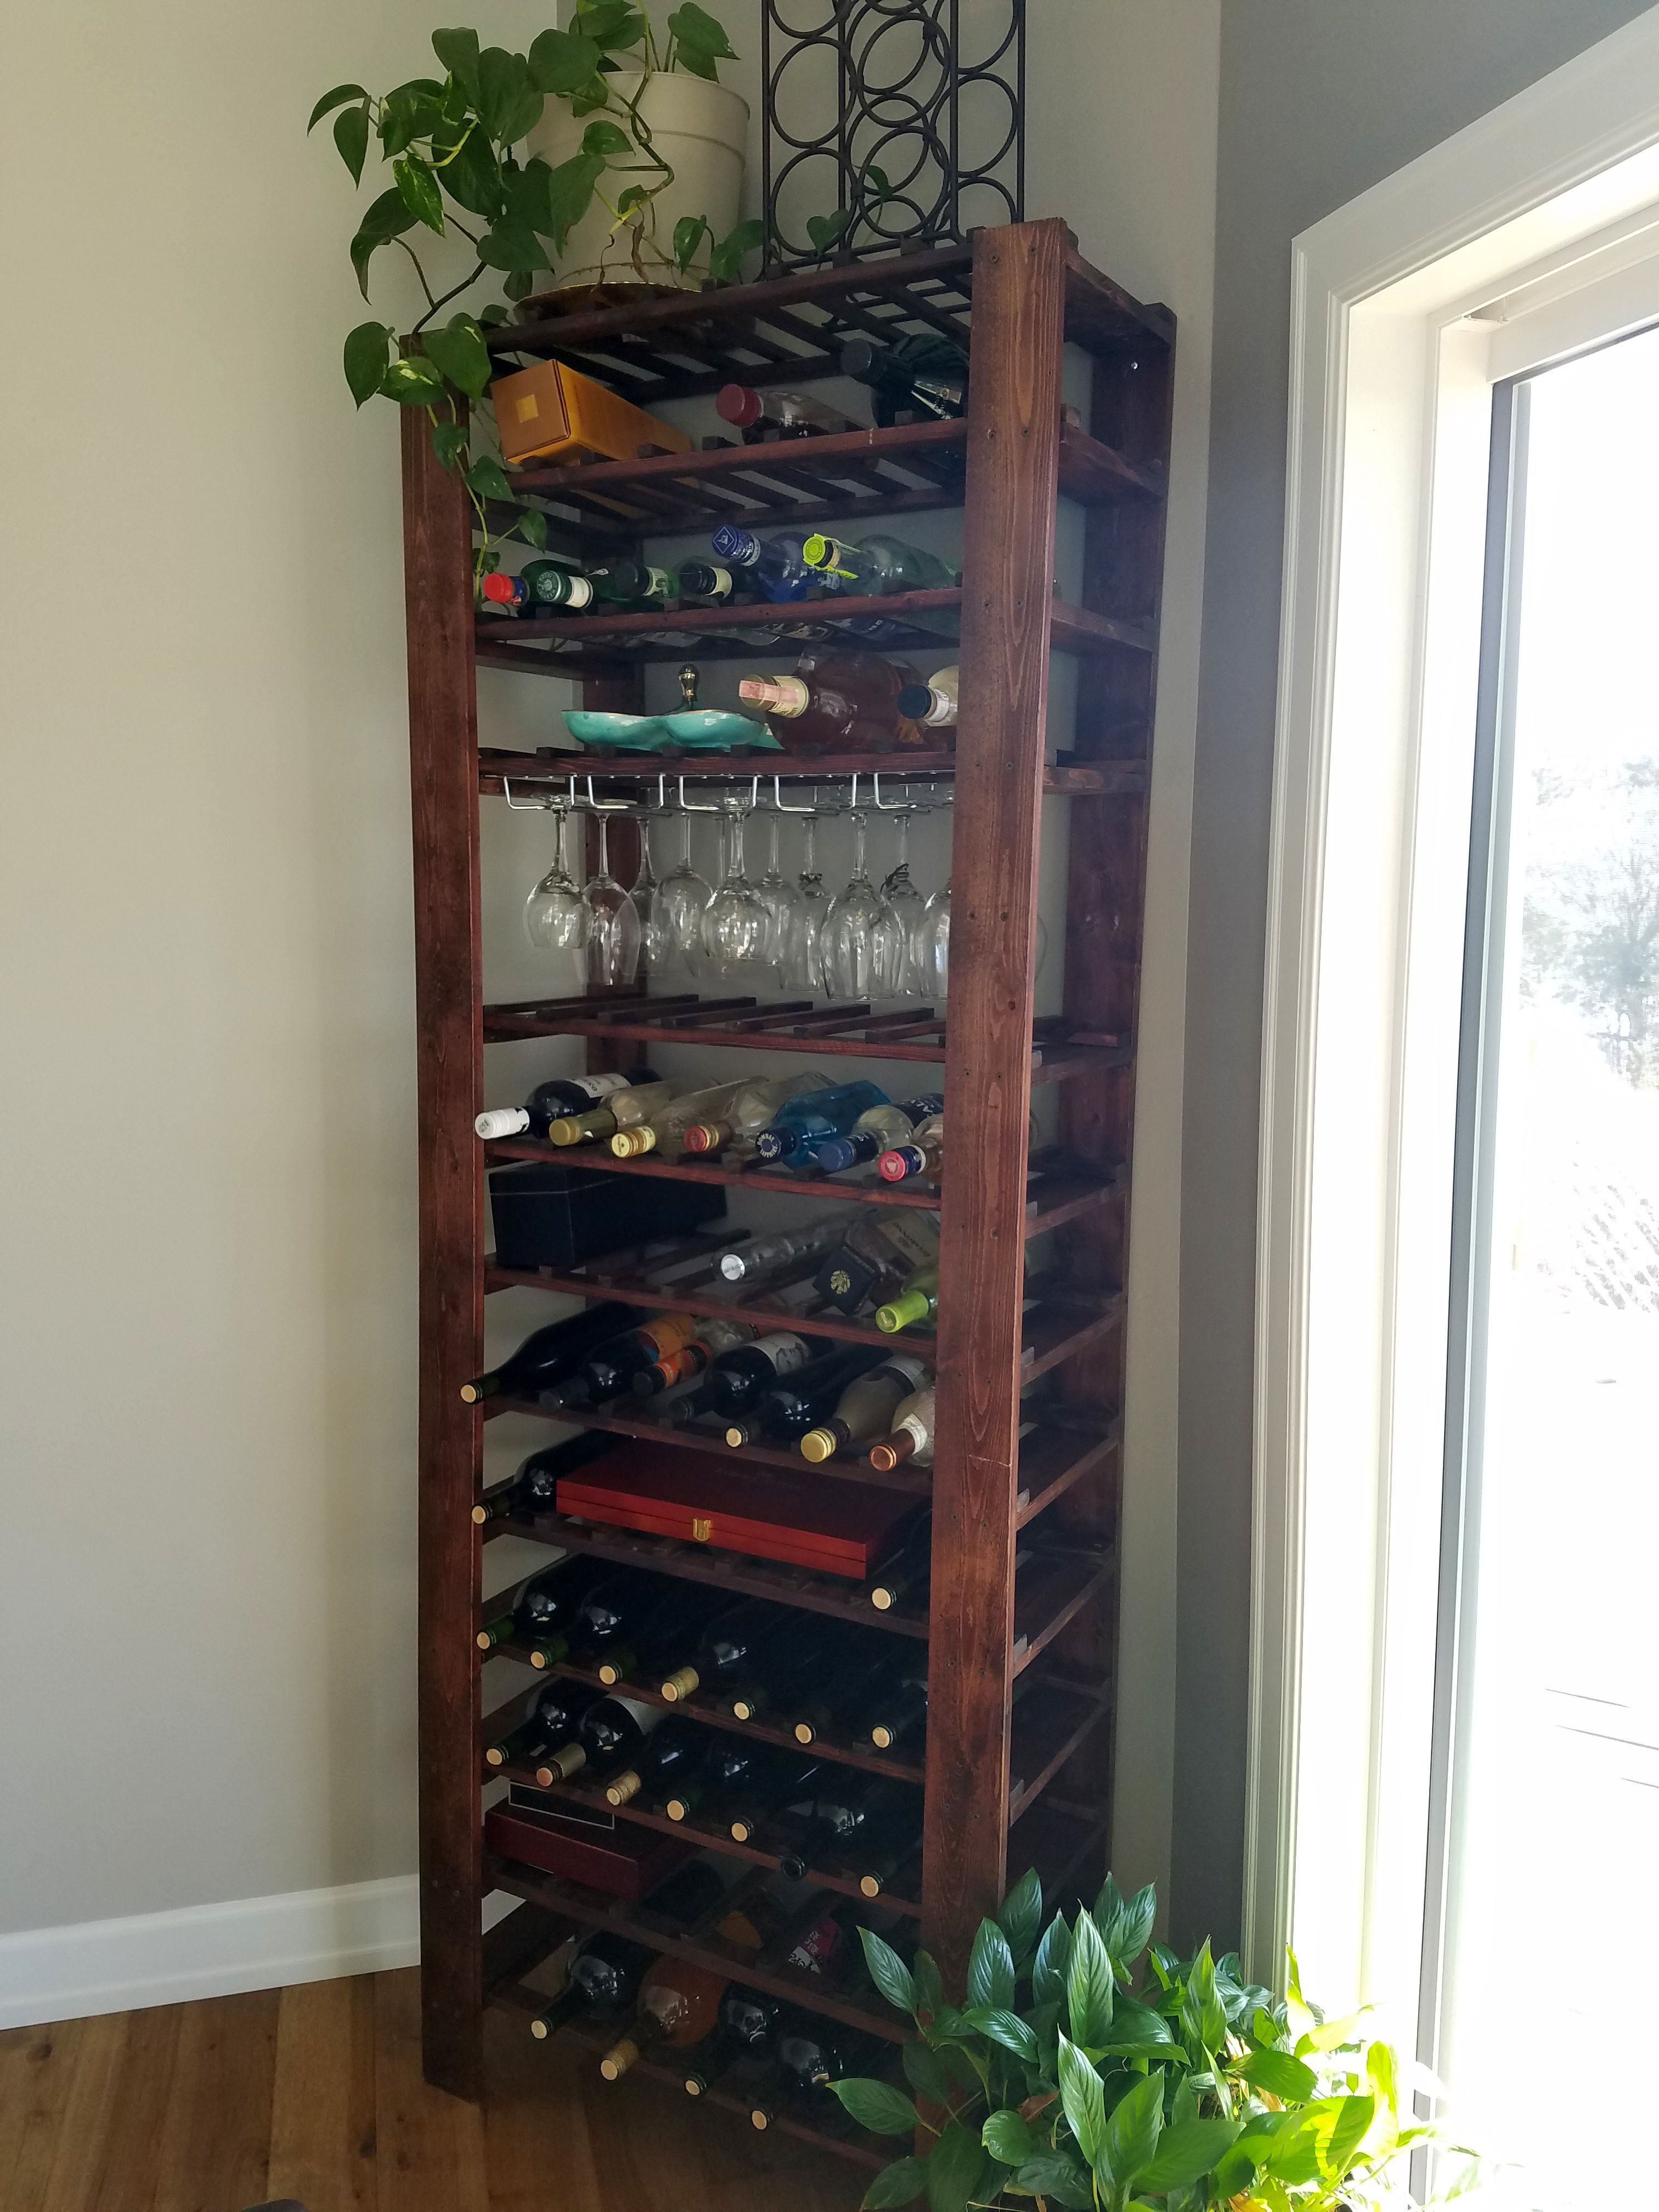
A few years back you might remember the wine rack that I built and blogged a DIY about on this site. DIY Build...