

19 Dec Refinishing A Rocking Chair
This is a project that I have had finished for a while but I have be procrastinating on writing it up. Why you might ask???? Well, this is BY FAR was the worst project I have ever taken on!
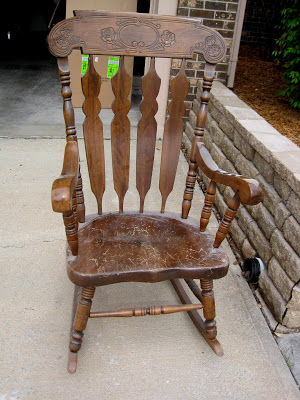
About 2 years ago, we was at this church garage sale and my husband and I came upon this rocking chair. It was old but sturdy…they don’t make them like this anymore. My 6’3″ husband fit in it nicely and I thought, “What a great chair to buy for a future nursery someday.” At a price of $20 we couldn’t resist. This chair sat in our garage until I was about 6 months pregnant and decided I better get working on refinishing it for the nursery.
 I have refinished quite a few things in my life. I grew up with a Mom who stained all the wood in all the houses we lived in (five houses in total) and refinished quite a few little tables, desks, and other objects along the way. I know refinishing, but when it came to this chair I almost gave up on it. Just a note to all you people out there, when you are starting a refinishing project…think about entire layout of the object you are working with. This chair might have only cost my $20 to purchase, but I ended up spended over $120 on refinishing supplies.
This refinishing project was so horrible because:
A) The dowels
B) The original finish
To refinish most wooden furniture you take the following steps:
1. Sand down the original finish. Start from the smaller numbers and move to the highest number on sand paper.
2. Rub down with steel wool (smoother finish)
3. Stain (2 coats are the best)
4. Polyurethane to protect
This chair was very beat up so I needed smooth out the wood and sand down the chair to the wood grain. I started out with a 60 grit sandpaper and worked my way up.
As I started sanding this chair, I noticed how tough it was to sand off the old finish. After working on it for a few hours I realized what was wrong…the original finish was covered in shellac! Well I am assuming that is what it was, either that or about 20 layers of polyurethane. Anyways, sanding it was tough! It used up so much sand paper.
Then the real reason why I hated doing this chair…the dowels. There was no tool on earth that fit into those tiny spaces of the decorations on the dowels. I first tried to buy a stain stripper. I tried two brands and nothing would remove the finish on the dowels. Sanding was the only option. Luckily, I found this sander at Lowe’s for $40 and it could get into the tiny space somewhat, but the paper ran out so quickly I had to keep buying more packs of sandpaper. The packs cost about $10 a pack and I think I had to purchase four of them.
Even though I had the fancy sander above, I spent at least 40 hours sanding this chair. You can ask all of my neighbors. They would walk by and make comments like “still working on that chair I see” or “when is that chair going to be done”. This chair had me crying at least twice (or maybe it was pregnancy hormones.) I wanted so badly for it to be finished the the STUPID dowels took so long! On top of that, the problem still remained that I couldn’t find anything to get into the little cracks on the dowels and original finish was just sticking out. After one tearful evening, about two weeks before my inducement date, I gave up. Who cares if about the original stain I can’t seem to get off this thing…I was planning on staining it dark anyway. Here is the chair when I finally gave up sanding.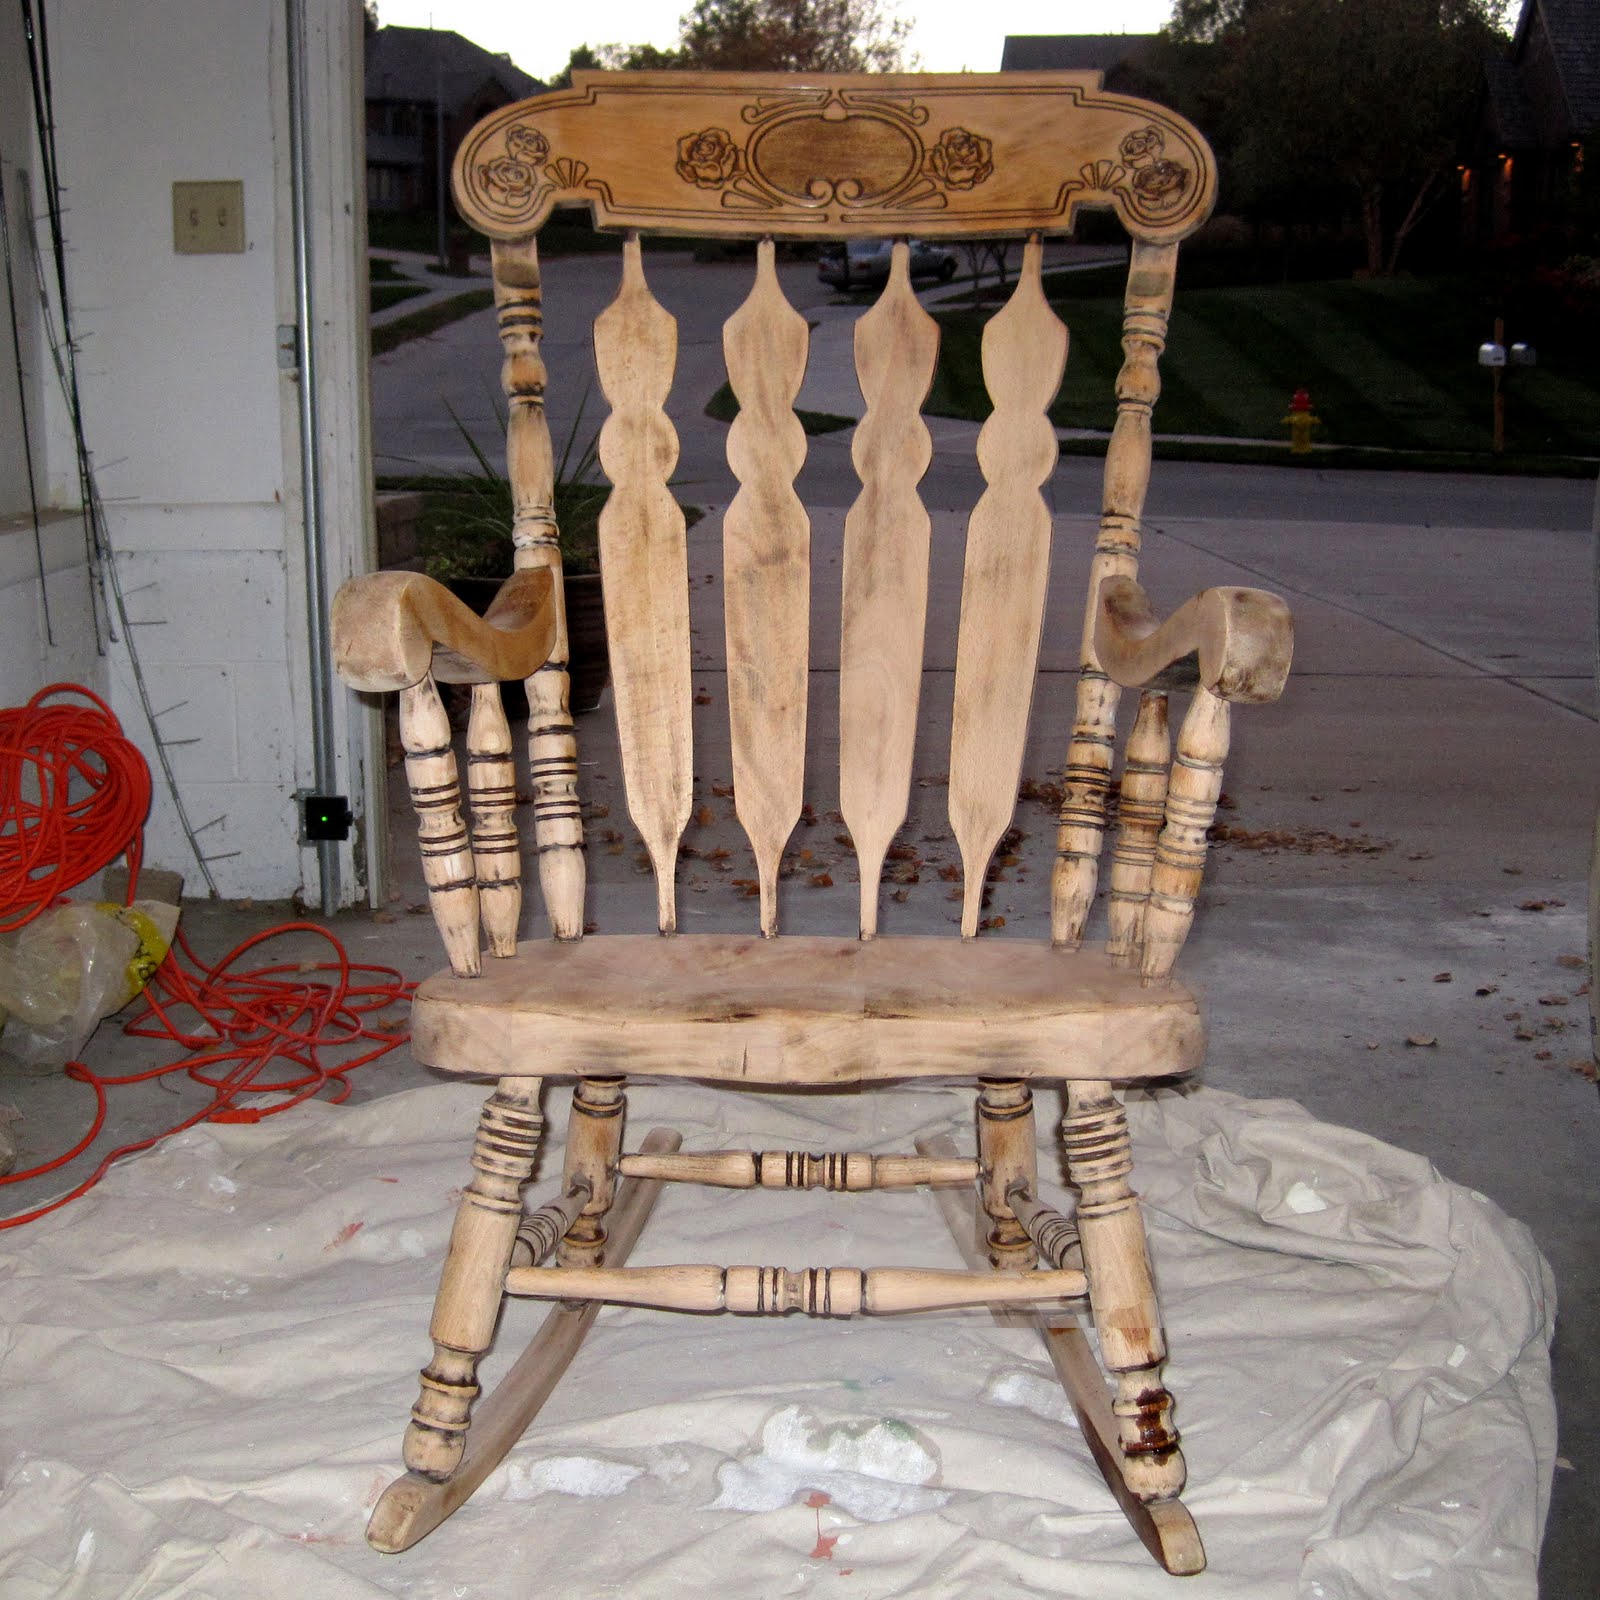 Next was the staining part. I wanted to match the light cherry wood in our nursery, so I mixed up some red mahogany and golden oak and I came up with a color that was almost the right shade. I needed just a little more red in it to match the nursery furniture.
My Mom knew how much I was fretting about finishing this chair before the baby’s arrival, so she suggested I purchase this awesome product she had found. Varathane makes this stain and polyurethane in one. It was a lifesaver. I purchased the cherry color and it added just the right amount of red to the wood and applied the polyurethane at the same time. 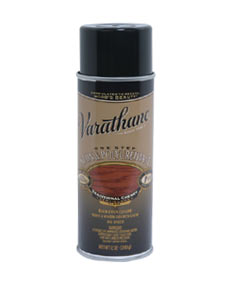 I used two cans, which at $10 a can it’s not cheap stuff, but it was worth the time it saved me. It took a few days to apply each coat, but it worked out great overall. As you can see the finished product turned out beautifully!
 The moral of this story about the rocking chair is to “Think clearly about a refinishing project before you start it.” This project ended up costing me more then just going out and buying a new rocking chair. It was $20 for the chair, $40 for a new sander, $40 in sandpaper (if not more) and $20 for the stain. That means I spent over $120 on this chair and that’s not including the hours I spent working on this project. Granted this chair should last for years to come and looks great but the pain it caused me was not worth it.
By the way, did I mention my son hates this chair? I wanted it finished for his feedings and he hates eating out of this chair. I don’t understand it, but maybe the next child will appreciate all my hard work more 🙂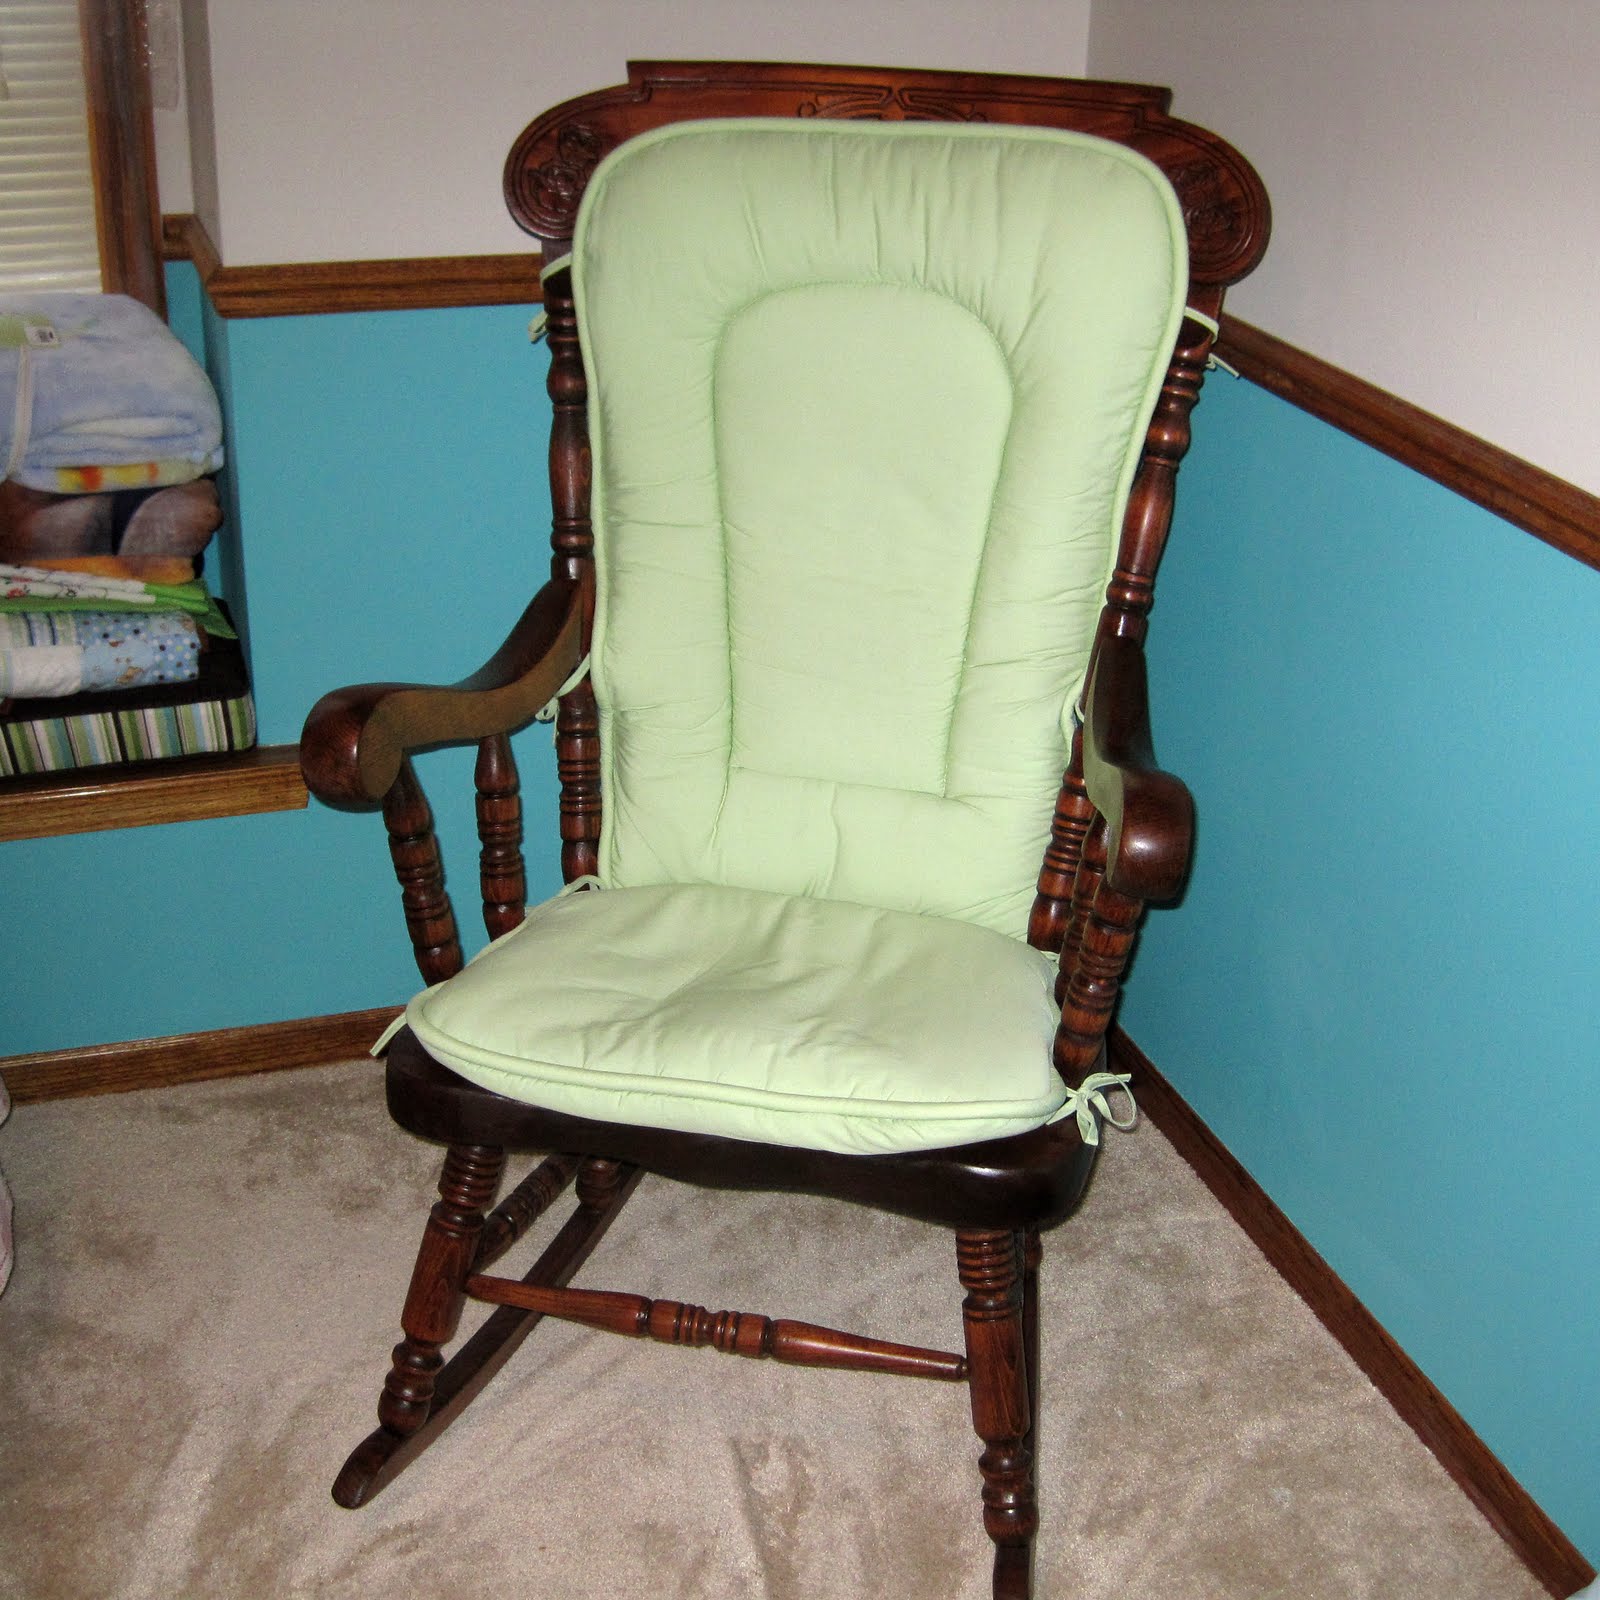
~Beth