07 Sep DIY Compost Bin from Old Pallets
I have this board on Pinterest that I call my Future Projects board. I was looking through it and decided that my goal today would be to complete one of these projects. An item I pinned a few weeks ago was a compost bin made from pallets and I decided to tackle that job today.
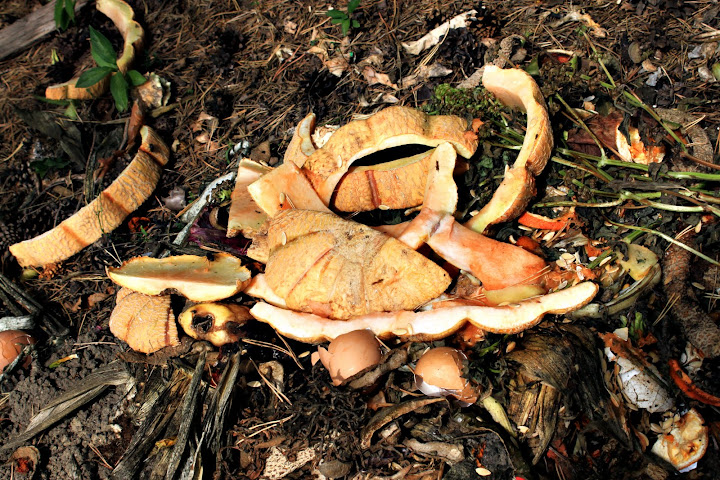
I have always wanted my own compost bin. Since our new house has 5 acres of land, I have been sort-of creating my own compost area. It’s in the middle of the forest, a little walk off the back deck.
 The only problem with starting this project today was that my husband was working the whole day. He is usually there to supervise my use of power tools. Call me paranoid, but having him there really helps out with my anxiety that I might accidently slip and cut off my finger or my leg. Not to mention, I wasn’t sure if I could lift the pallets myself.
 You will need some long wood screws. I purchased 16 screws that were 3 inches long. I only ended up using eight. (Cost $4)
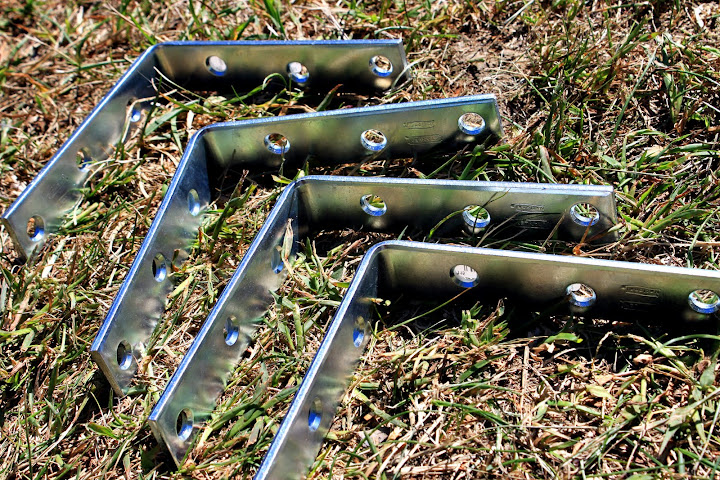
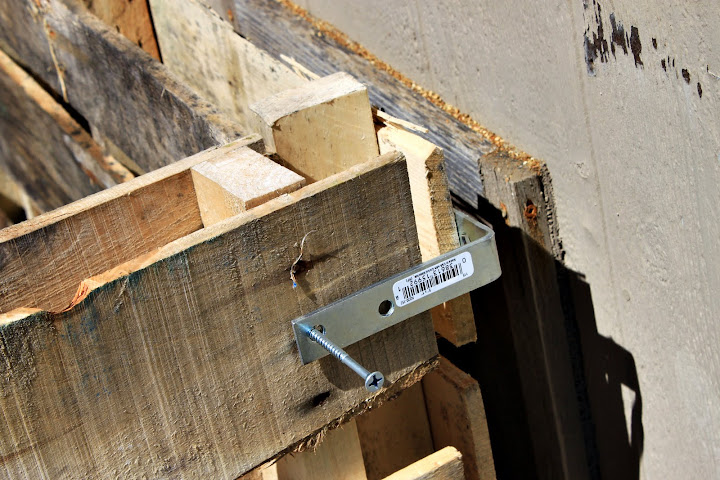
 You will need some L-brackets. These brackets are about four inches per side. (Cost $15)
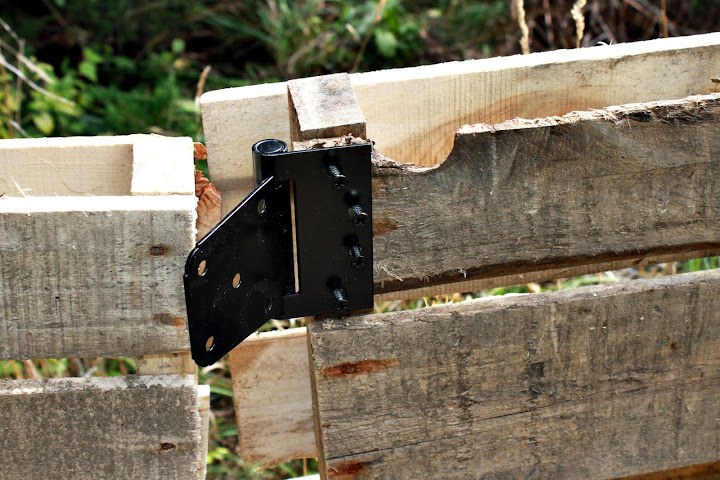
 If you want a hinged door on the font, like I do, you will need to purchase some hinges. I found this kit that was for a gate and was cheaper then buying the hinges, screws, and hook separate. (Cost $22)
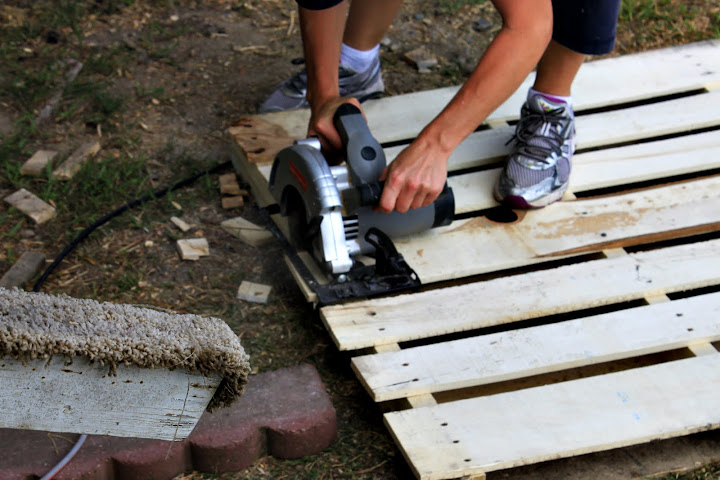
 In addition to the above, you will need a circular saw, drill, screw driver and confidence!
 Honestly, this might be my most favorite project I have done because I feel like I learned something by doing this (basically) all myself. In fact, my husband was pretty impressed by my compost bin and even said how impressed he was by me today 🙂 It took about two hours of my time and about $41.00! I not only gained an awesome new compost bin but also gained the confidence to tackle a couple more projects on my Pinterest board!
The only problem with starting this project today was that my husband was working the whole day. He is usually there to supervise my use of power tools. Call me paranoid, but having him there really helps out with my anxiety that I might accidently slip and cut off my finger or my leg. Not to mention, I wasn’t sure if I could lift the pallets myself. .jpg)
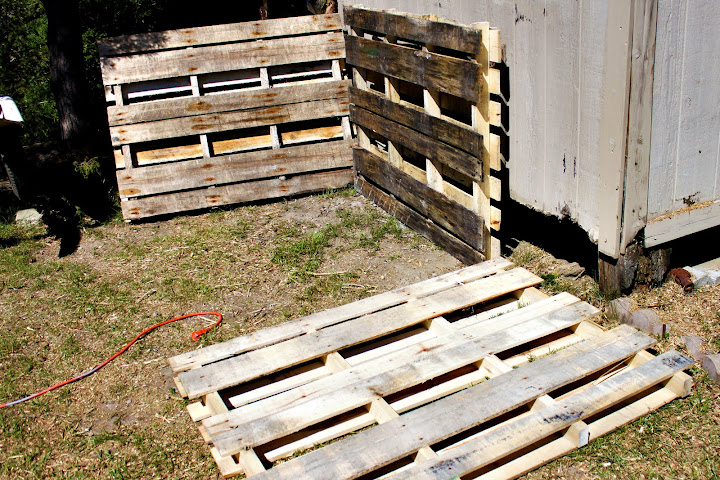
I started out by collecting my supplies. I needed four pallets and I got these for free from our local lumber yard. They were even nice enough to put them in my truck for me. (Guess they thought this little girl couldn’t lift them.) Then I carried them from my truck to the backyard, of course I cheated and used the tractor.
You will need some long wood screws. I purchased 16 screws that were 3 inches long. I only ended up using eight. (Cost $4)You will need some L-brackets. These brackets are about four inches per side. (Cost $15)If you want a hinged door on the font, like I do, you will need to purchase some hinges. I found this kit that was for a gate and was cheaper then buying the hinges, screws, and hook separate. (Cost $22)In addition to the above, you will need a circular saw, drill, screw driver and confidence!To start off, lay out your pallets. I wanted a compost bin that had a hinged gate on the front so it would be easy to add and remove large amounts of compost.
 Upon laying them out, I decided that I needed to cut some of the pallets where the wood overhangs. On the back pallet, I cut off the overhang on the inside of the pallet. For the sides, I just needed to cut the overhang wood on the side that touched the back pallet. The front, or the hinged door, I had to cut the wood overhang off all of it except for the side with the hook. (You will see later on.)
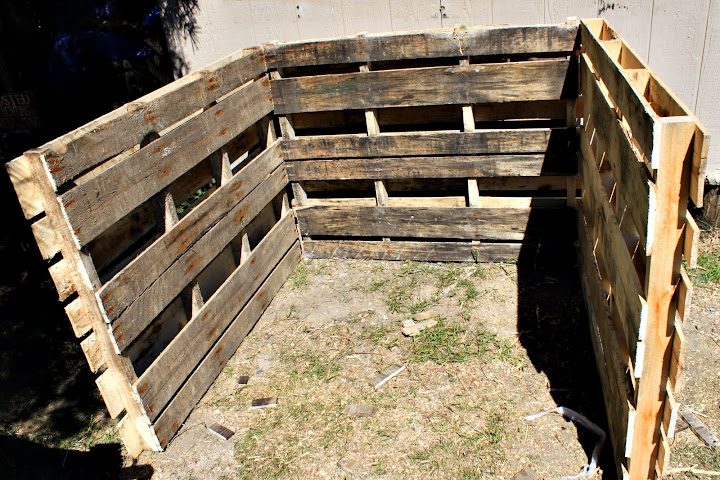
 Set up the back wall and the sides together to test out your cuts. Hopefully you didn’t end up with some really warped pallets! Your cut pallets should line up like below or at least close enough. You are dealing with used pallets, so they are all probably made slightly difference and warped a little. You really just need the corners to be close enough to screw your L-brackets into each pallet.
 Once you make sure that they fit together, good enough, remove the back pallet and attach one end of the L-bracket. I found it was much easier to do this with the pallet laying down. I suggest drilling a hole before you put in your screws. It’s a little extra work, but it’s easier then trying to force a screw into the wood. Also it helps to avoid the nails that are already holding the pallet together. Also, try to screw your L-brackets into the 2×4 boards that are holding the pallet together. It will last longer and be sturdier.
 Once you have the L-brackets installed on the back pallet, attach the left and the right pallet.
 I like to put the screws in partially so I can line up the bottom correctly. You should have something that looks like this.
 Once you get the L-brackets attached you have the basic outline of the compost bin. Now, this next part will most likely require two people. I had to wait for my husband to get off work to help me out. If you want a swinging door, you just can’t set it on the ground and attach it. It won’t swing open. I needed his muscles to hold my front pallet a little up from the ground so I could attach the hinges.
 Now when my husband came home, he wasn’t too excited about the area I chose for the compost bin. He wanted it more out of sight, which is totally understandable, so we moved the three pallets already attached together a little further back in the woods.
Upon laying them out, I decided that I needed to cut some of the pallets where the wood overhangs. On the back pallet, I cut off the overhang on the inside of the pallet. For the sides, I just needed to cut the overhang wood on the side that touched the back pallet. The front, or the hinged door, I had to cut the wood overhang off all of it except for the side with the hook. (You will see later on.)Set up the back wall and the sides together to test out your cuts. Hopefully you didn’t end up with some really warped pallets! Your cut pallets should line up like below or at least close enough. You are dealing with used pallets, so they are all probably made slightly difference and warped a little. You really just need the corners to be close enough to screw your L-brackets into each pallet.Once you make sure that they fit together, good enough, remove the back pallet and attach one end of the L-bracket. I found it was much easier to do this with the pallet laying down. I suggest drilling a hole before you put in your screws. It’s a little extra work, but it’s easier then trying to force a screw into the wood. Also it helps to avoid the nails that are already holding the pallet together. Also, try to screw your L-brackets into the 2×4 boards that are holding the pallet together. It will last longer and be sturdier.Once you have the L-brackets installed on the back pallet, attach the left and the right pallet.I like to put the screws in partially so I can line up the bottom correctly. You should have something that looks like this.Once you get the L-brackets attached you have the basic outline of the compost bin. Now, this next part will most likely require two people. I had to wait for my husband to get off work to help me out. If you want a swinging door, you just can’t set it on the ground and attach it. It won’t swing open. I needed his muscles to hold my front pallet a little up from the ground so I could attach the hinges.Now when my husband came home, he wasn’t too excited about the area I chose for the compost bin. He wanted it more out of sight, which is totally understandable, so we moved the three pallets already attached together a little further back in the woods.The area we chose was on a slight downward slope, so we had to increase the height of the swinging door so it would not catch on the ground. Luckily, I had my husband there to hold up the door for me while I measured the swing and attached the hinges.
 The pallet front looks pretty high compared to the rest, but we needed it to fully swing open. I finished making sure the hinges were attached and sturdy.
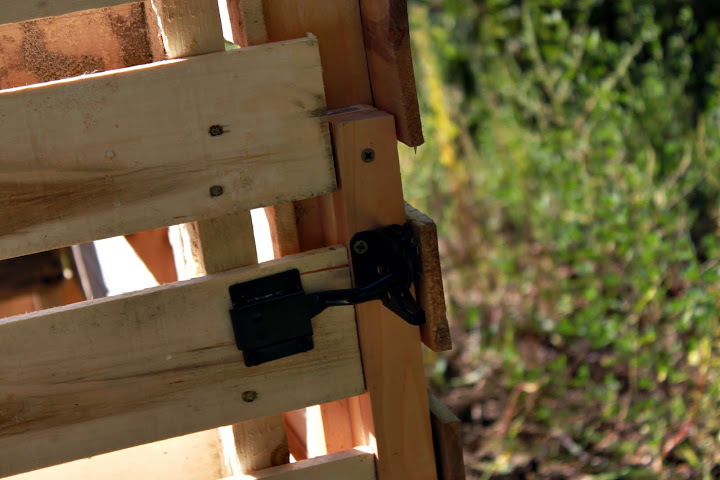
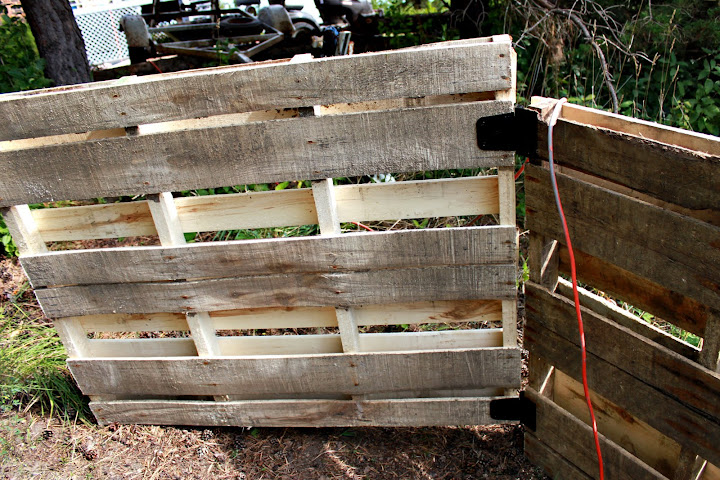 I attached the gate hook and we were finished!
 It’s really pretty big once you get it all done and I am very excited to get some good use out of it.
 And the new setting in the back of the woods (behind the boat trailer) is just perfect!
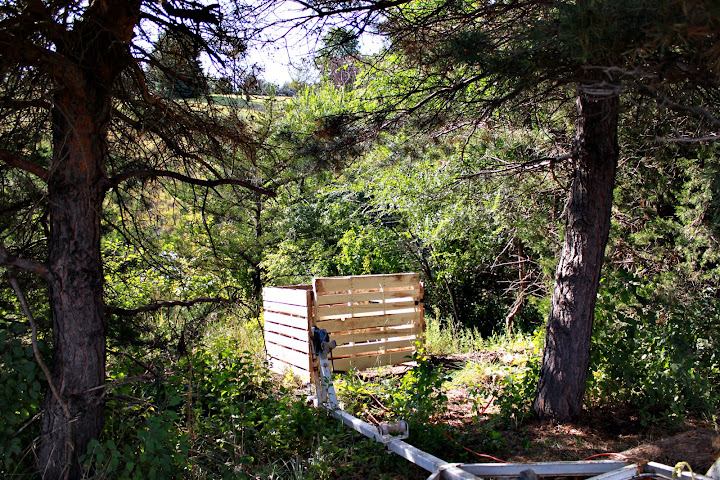 And I already moved over what little I had of composting material into the bin. The leaves will be falling soon and I can’t wait to add them to my composting bin. Hopefully all this compost will be worth it and we will have a great garden next year!
The pallet front looks pretty high compared to the rest, but we needed it to fully swing open. I finished making sure the hinges were attached and sturdy.I attached the gate hook and we were finished!It’s really pretty big once you get it all done and I am very excited to get some good use out of it.And the new setting in the back of the woods (behind the boat trailer) is just perfect!And I already moved over what little I had of composting material into the bin. The leaves will be falling soon and I can’t wait to add them to my composting bin. Hopefully all this compost will be worth it and we will have a great garden next year!Honestly, this might be my most favorite project I have done because I feel like I learned something by doing this (basically) all myself. In fact, my husband was pretty impressed by my compost bin and even said how impressed he was by me today 🙂 It took about two hours of my time and about $41.00! I not only gained an awesome new compost bin but also gained the confidence to tackle a couple more projects on my Pinterest board! ~Beth