03 Nov DIY Pallet Shoe Storage Bench ($32.13)
With the onset of winter I have been drooling over some sort of shoe storage in our house. Right now, shoes get left at the door and I end up tripping over them every time I walk in. I can’t imagine with winter, not only will I be tripping over them but I will be stepping in pools of water too!
I HATE wet socks!
I began looking online for a shoe storage bench. I found something like this for $112.
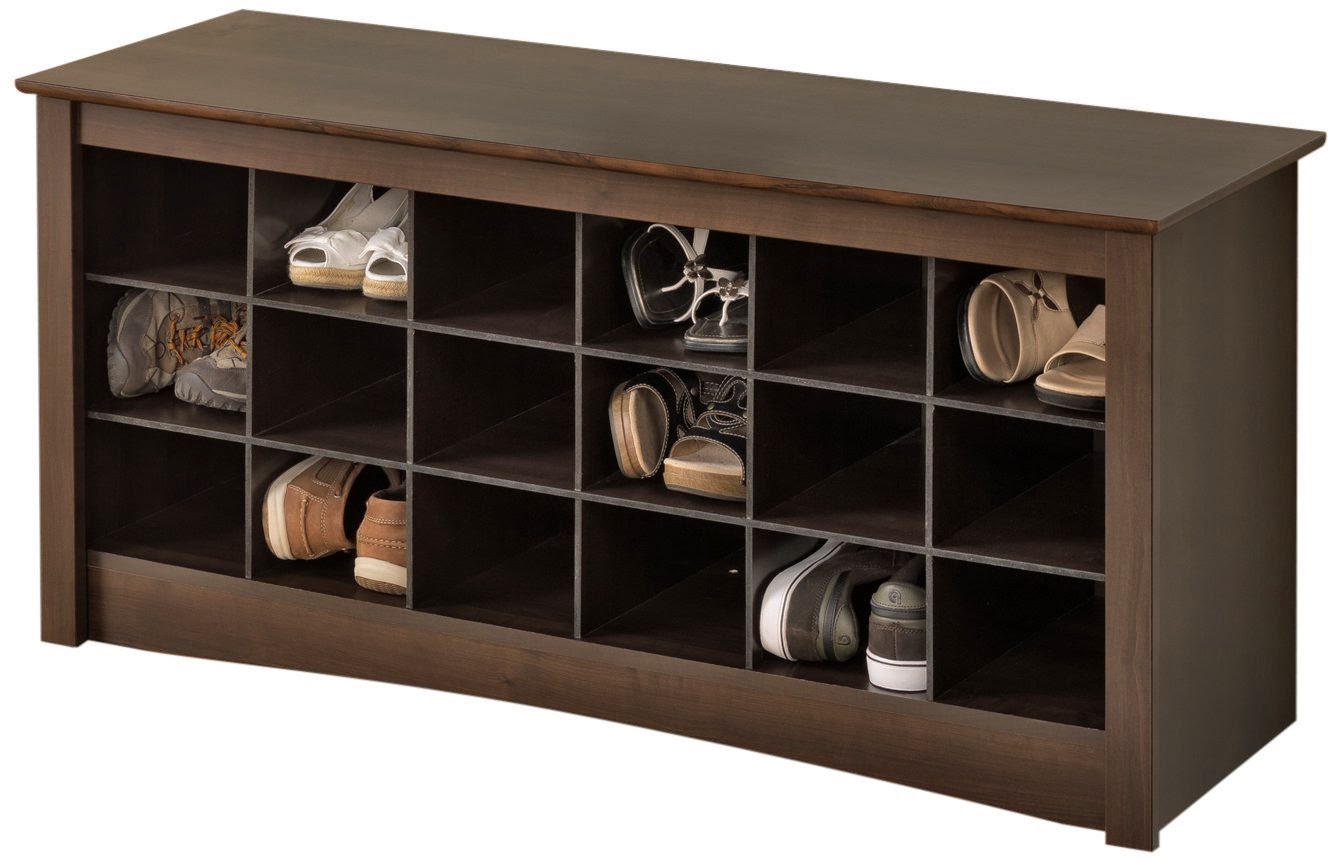

I fell in love! It would be so nice to have a coat rack, some storage, and a shoe bench in my mud room!
However, I know my husband, and he would probably say that we really don’t need it for that price. So one day, I decided that I could build my own. As of late, I have been obsessed with wooden pallet furniture. I thought that some pallets would make a great shoe storage bench….and they did! So here are the directions if you would like to build your own storage bench.
Hammer
4 casters
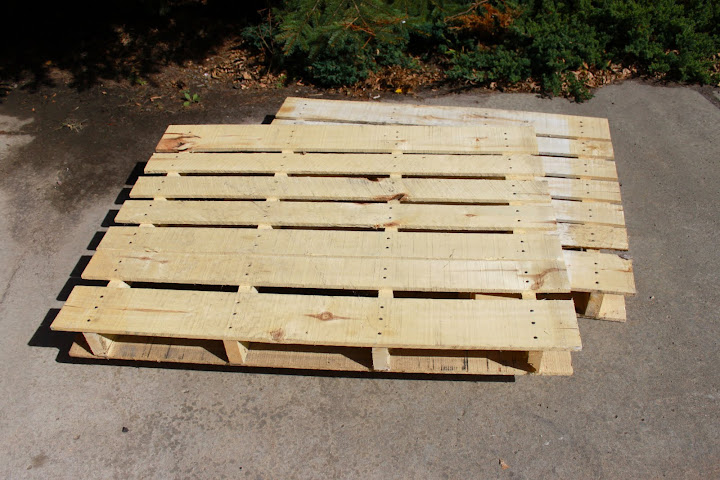
 I did this with a chisel and hammer. I just chiseled around the nails and then used the hammer to pull them out. You want to remove the bottom to extend the spaces between shelves for bigger shoes.
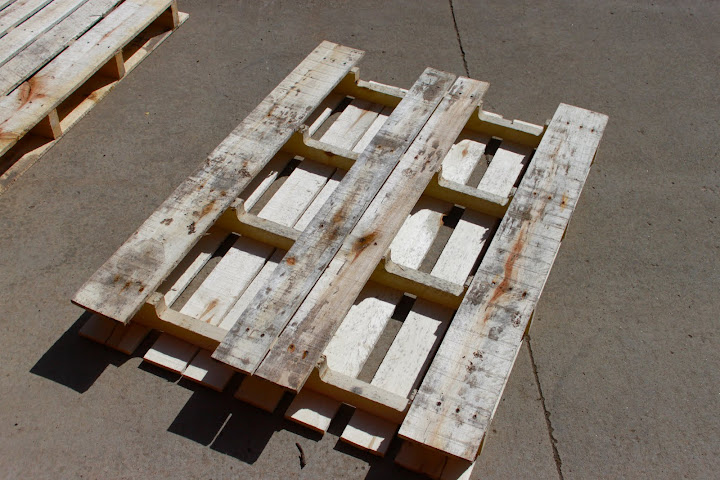
 Your pallets should look something like this:
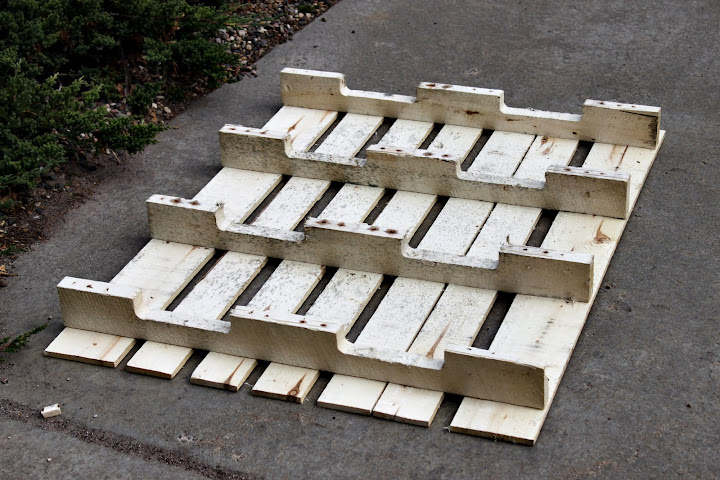 Next, cut them both in half the width way. Make sure you measure so they are all even pieces. Measure twice!
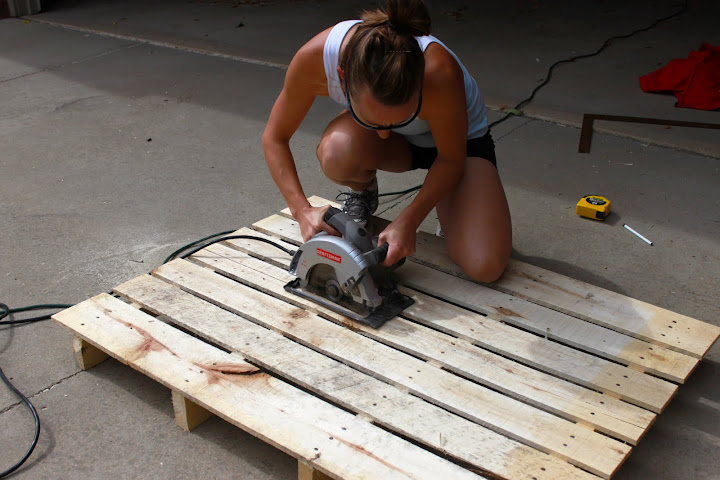 Now, most likely, your circular saw won’t cut all the way through the thickness of the wood, so I used a hand saw to cut the remainder.
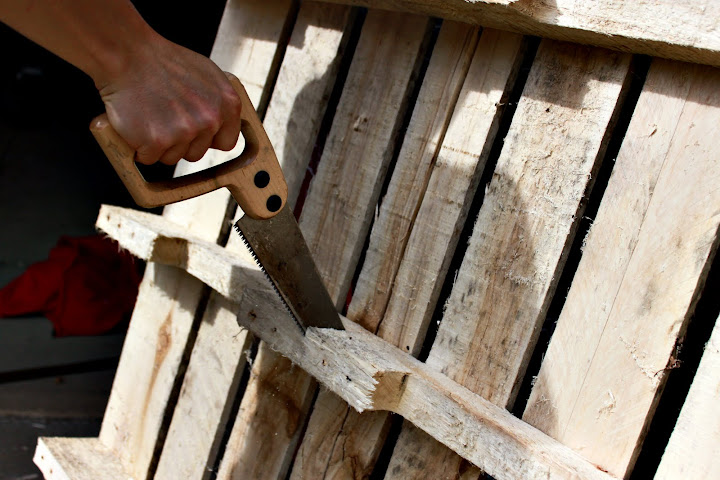 You should have four equal sized pieces of the pallet. Stacked on top of each other, you get the idea of how the bench will look. At this point, decide which side you want to face front and the order you would like to stack the pallets. I had some ends that were cracked on my pallet so I faced them towards the back. Also, I put the best quality shelves toward the top of the bench because I figured you would see them more.
 Now we need to reinforce the bench shelves to be strong enough to hold a person’s weight. Measure the width of the pallet.
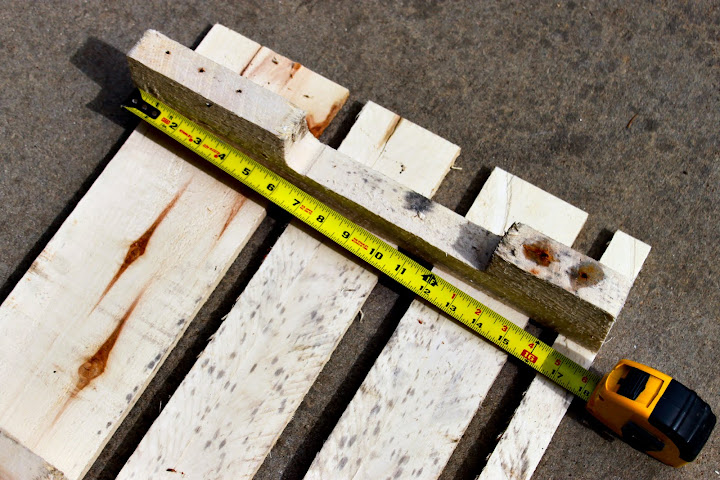 Taking a 2″x4″ board (the reason why the pallet needs to be 2″x4″ construction) cut 8 pieces of the board into the width of the pallet (18 inches).
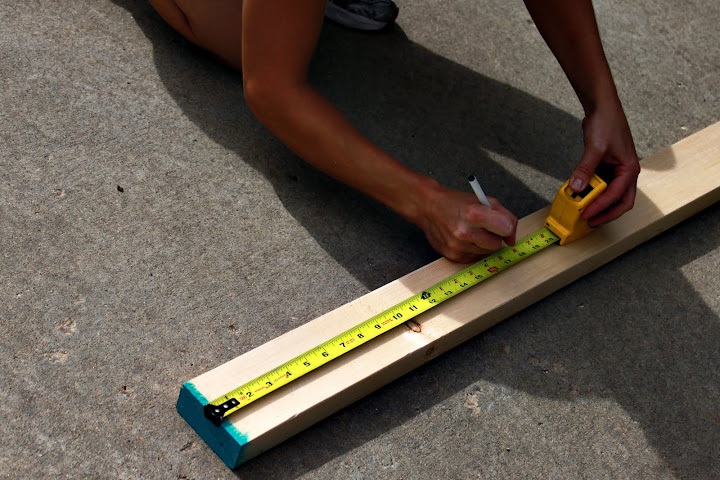 Starting with bottom half piece, attach the 2″x4″ along the outside edges of the pallet, like below. I used screws to do this.
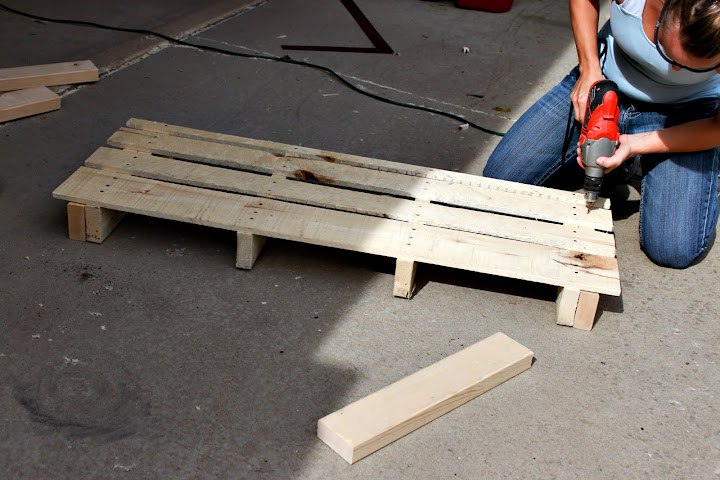 Turn the pallet over (this is your bottom rung) and measure the width of you two boards. The height of a normal pallet space is not tall enough for most men’s shoes. I needed to expand this, so I did so by adding boards to the top of the supports.
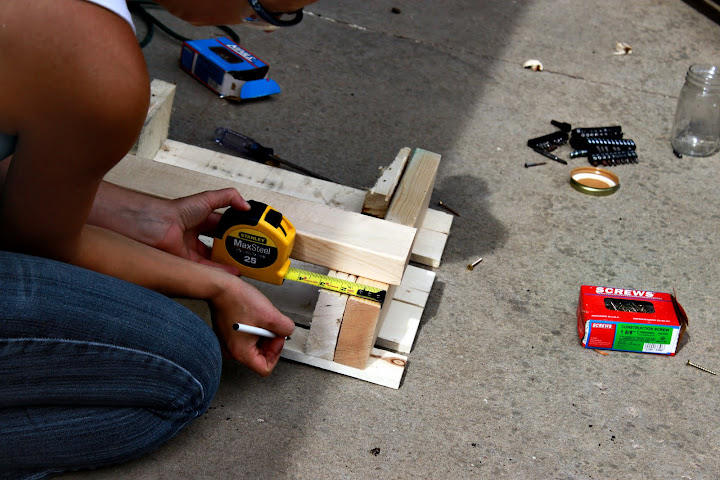 Each shelf also needs some center support boards, so I cut two center supports for each shelf and two end supports for each shelves.
 Next, screw your center supports into place:
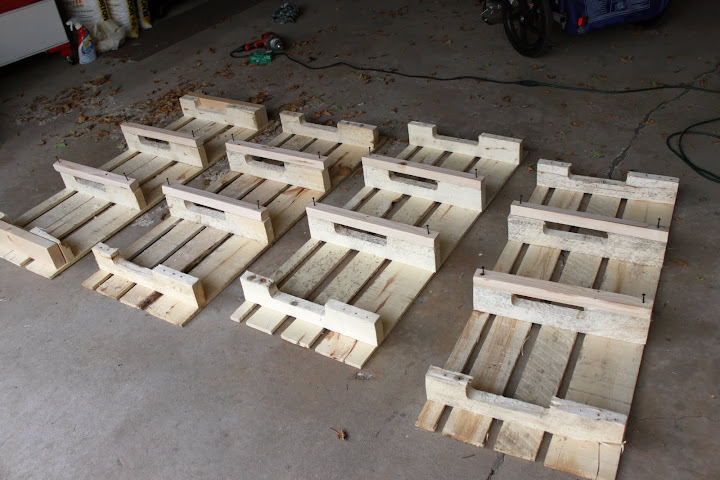 Starting with the bottom shelf, screw the two 2″x3″x18″ boards to the tops of each of the edges. (Note: If you plan on finishing the bench, this is the part I wish I would have sanded the bench. It was very hard to sand the bench once all the shelves were put together.)
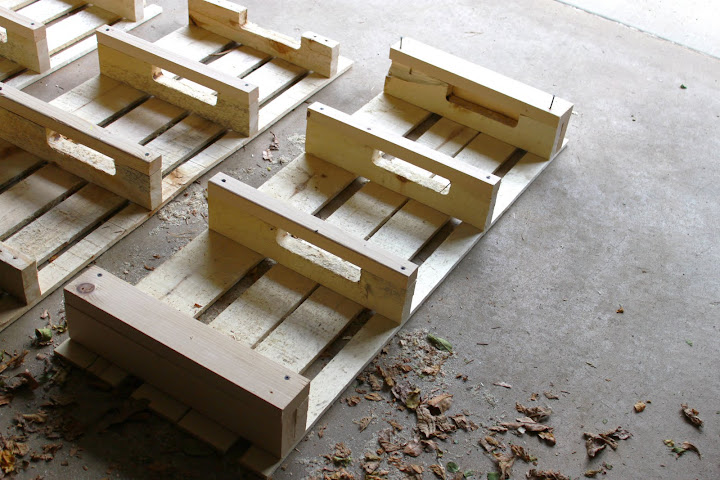 Now, stack your next pallet shelf on the bottom. Use the pallet overhang to screw it in place to the shelf below.
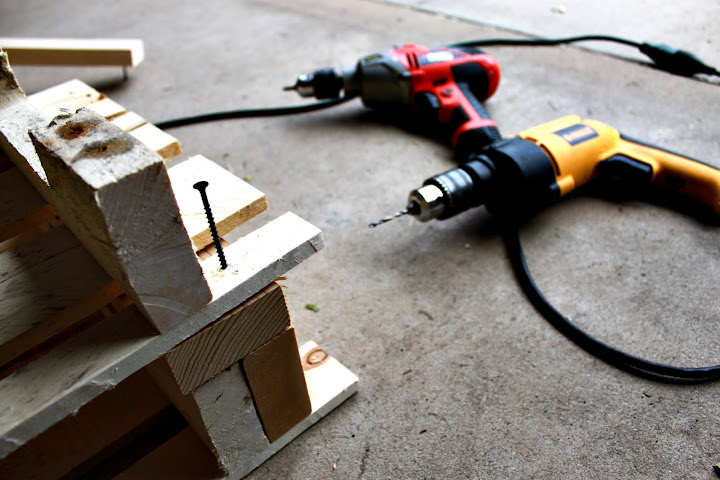 You should have something like this:
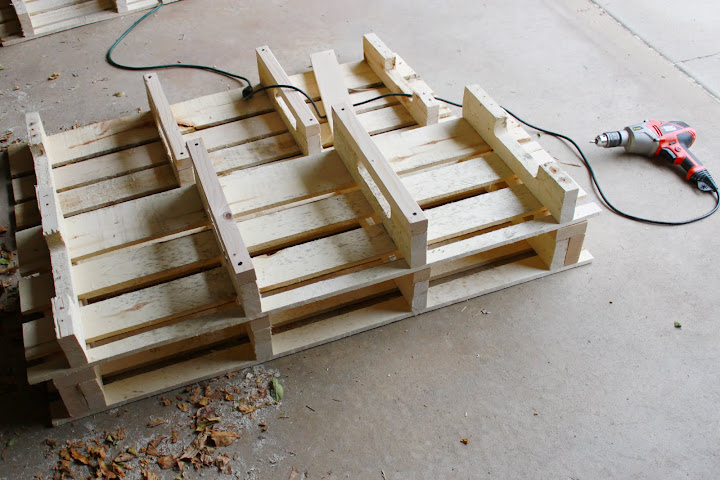 Place your 2″x4″x18″ side piece on the pallet overhang and then put the top 2″x3″x18″ piece on the top of the ends. You are using your 2″x3″x18″ to hold the side piece in place. You need to screw down the top piece (2″x3″x18″) to hold the side piece in and to attach to the shelf. (Note: I drilled a hole and then screwed in the screw. I just found it easier and I didn’t want to split the wood. I wasn’t sure how the pallet would would hold up to just drilling a screw in.)
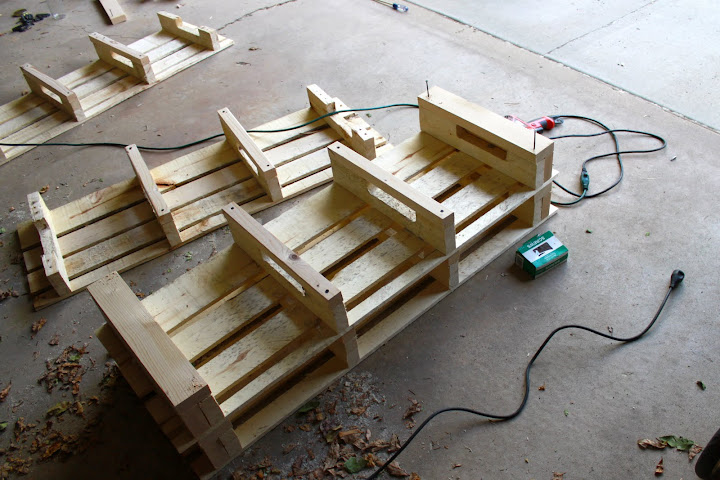 Repeat the process. I used very long screws because I wanted to make sure that the screw went all the way through the shelf, into the side piece of the shelf below.
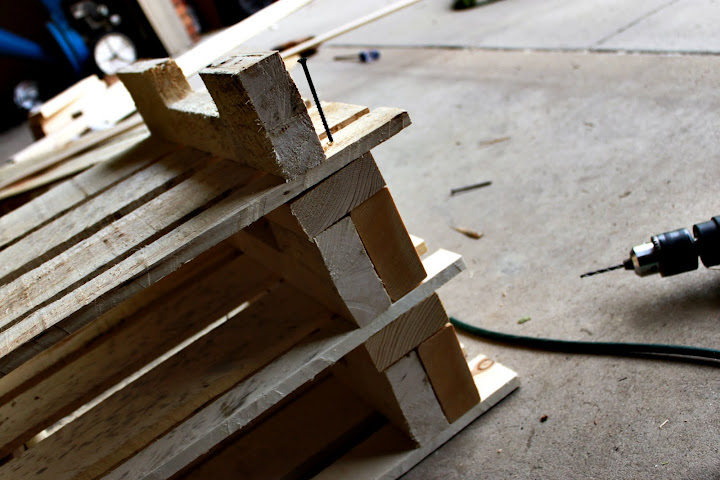 You should end up with something like the picture below. (You might want to use clamps if your boards are bowed a little.)
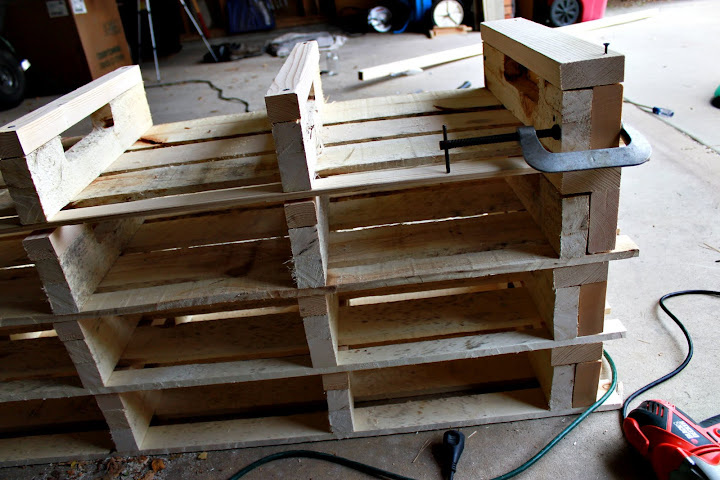 Now it’s time for the top. I purchased a 1″x6″ pine board for my top. I didn’t want anyone snagging their clothes on the rough pallet wood, so I thought the top should be smooth. Measure the width of your bench, in my case it was 48″ (including the overhangs on the side), and cut your board into 3 pieces.
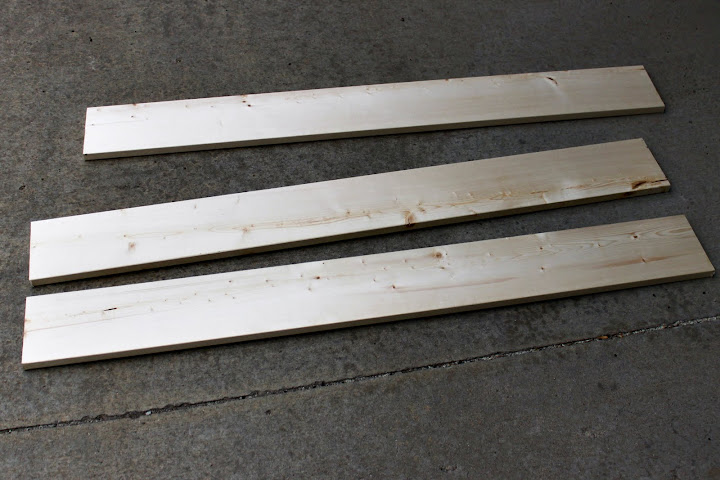 Place your boards across top of the bench (there will be gaps in between them) and mark your drill marks. I decided to nail on the top, to add sort of a rustic feel. I had some large roofing nails that I liked the look of, so I used them. I did drill holes part of the way before putting the nails in so I was easier for me and I didn’t dent the wood.
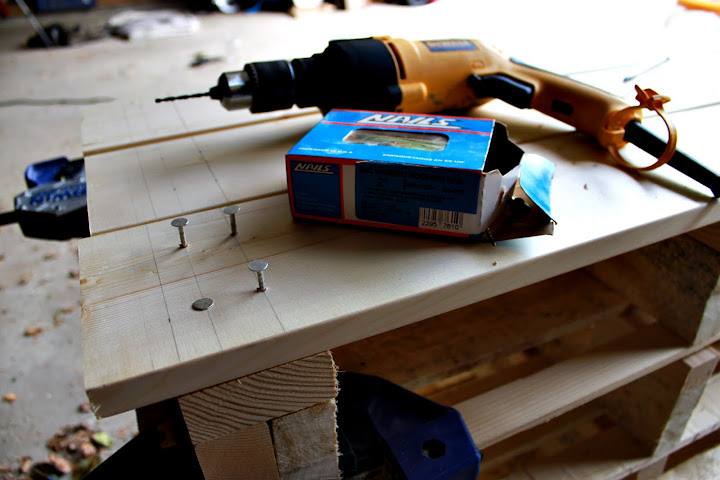 You should now have a bench that looks something like this! Now you have to flip it over to add the wheels.
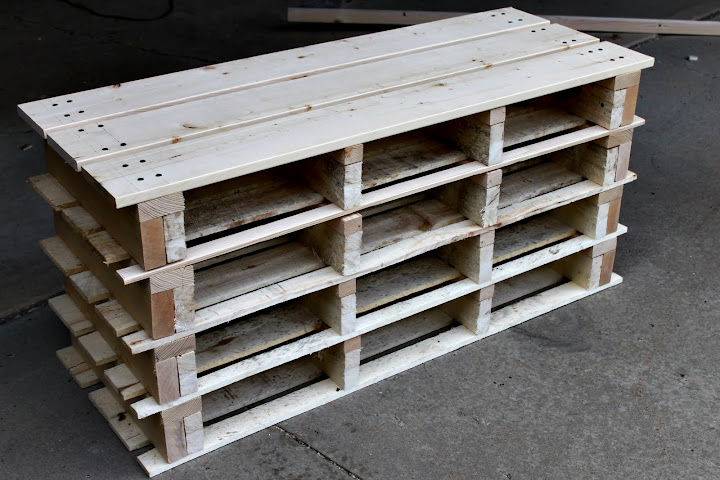 I added wheels to mine, to make it easier to cleaning under.
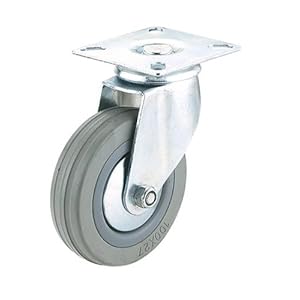 I bought these casters from Amazon.com and they are suppose to hold enough weight for the bench. I am proud to say that this is the only step I had to ask my husband for help on. I can’t lift the bench to flip it over by myself!
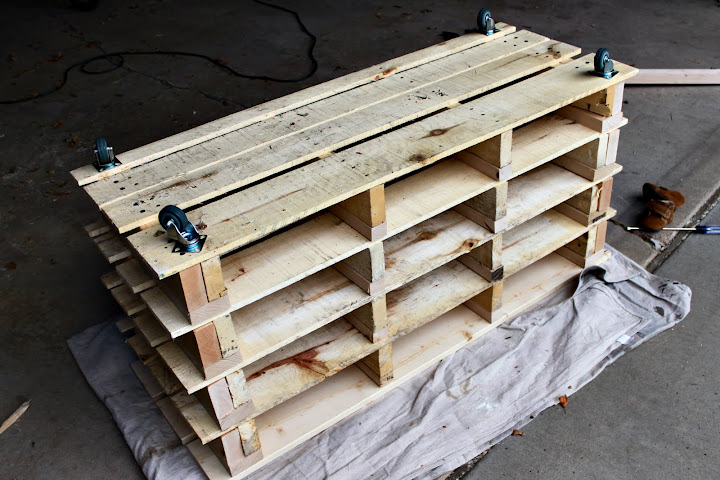
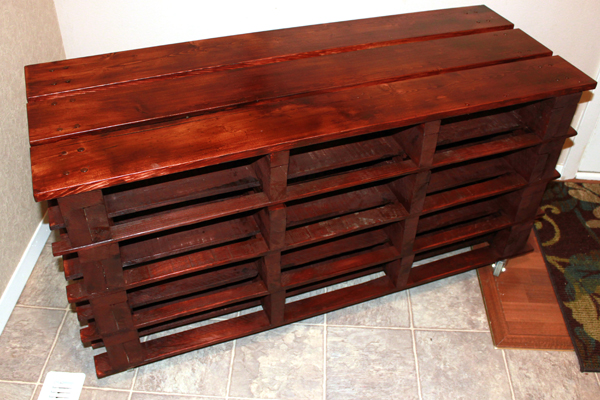
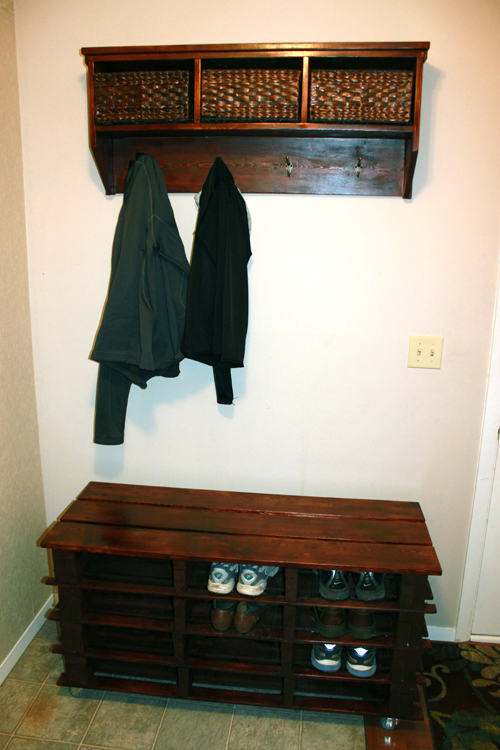
Finally, my mud room coat and shoe storage is complete!
We have had several people over since building it and I have actually had to convince people that this bench was built from pallets. It’s a great way to use up some old pallets and add less to our dumps. Plus, it’s cheap and easy!