

10 Mar DIY Pantry Door Redo #2
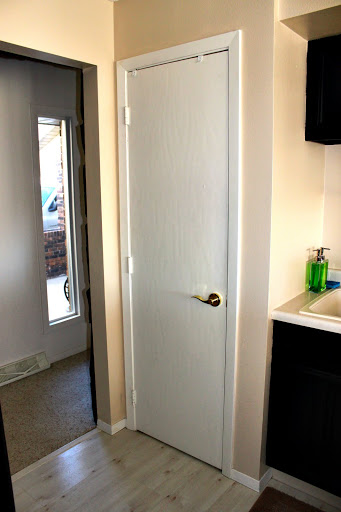
Here is the second post on the redo of my pantry door. (See first post here.) If you remember, back in June I commented on my kitchen remodel that I had grand plans for my super plain pantry door.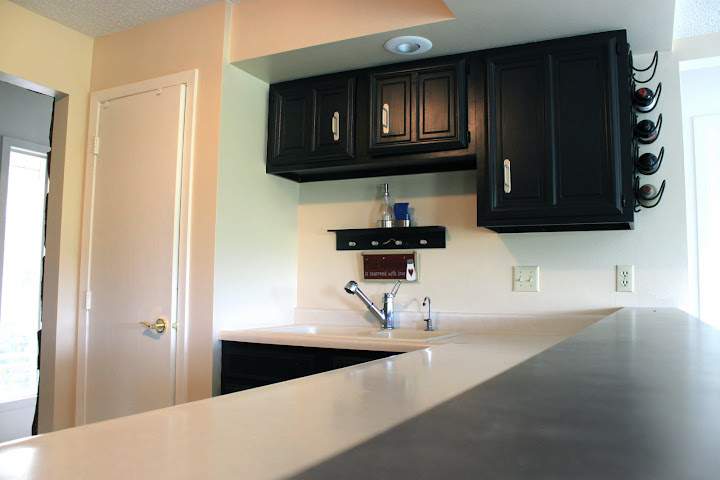
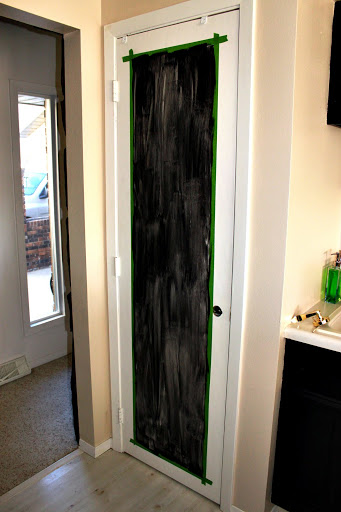
 I decided to leave a white border around the magnetic chalkboard. I measured 4 inches from all sides,
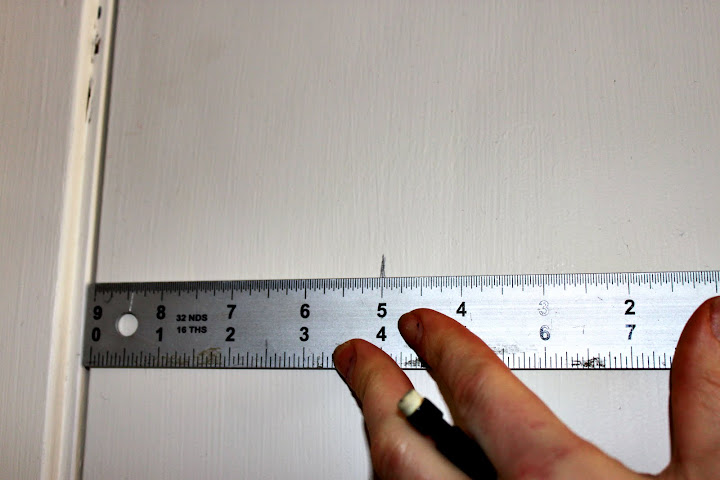 and drew lines to mark where I wanted to paint.
  I taped off the border with some frog tape to prevent any of the paints from bleeding underneath. (I love frog tape!)
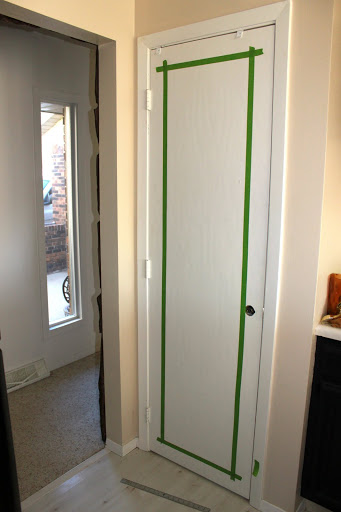 The first layer needed to be the magnetic paint. I decided to use Rust-oleum Magnetic Primer as it seemed to have the best review online.
 I read online that you need a good six coats for the magnetic paint to work, but after my sixth coat I found that it barely had a magnetic hold. I ended up painting TEN coats of magnetic primer. And this paint is AWFUL to paint with! It is hard to remove from your hands and has a very oily texture. I felt like I was painting with motor oil. In hindsight, I should have just bought a large sheet of thin metal and glued it to the door! This is a picture of the paint after one coat of the magnetic primer.
 After my TEN coats of magnetic primer, I finally decided it was strong enough for magnets and it was time for the chalkboard paint. I purchsed Rust-Oleum Specialty Chalkboard Paint and painted two layers of paint over the magnetic primer.
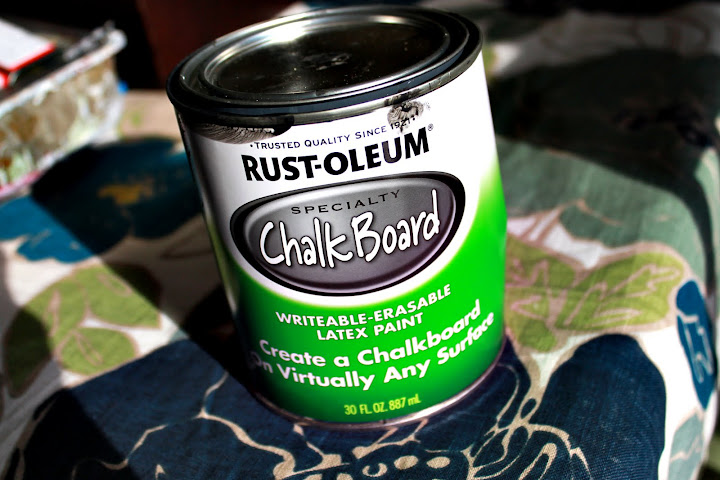 I removed the tape and the directions say to let the paint cure for three days.
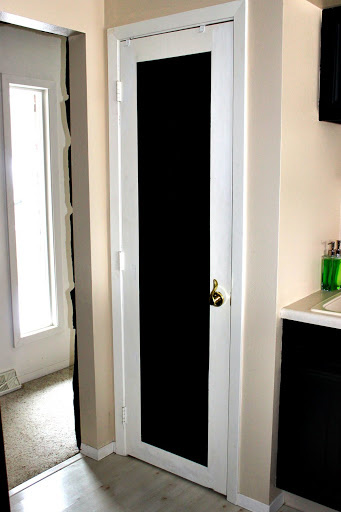 I wanted to add a little more decorations to the kitchen, so I purchased a custom vinyl cut decal from Curzon Promotional Graphics. I was able to design exactly how I wanted the decal to read and layout.
 I absolutely love this decal! And I love the idea that I am the only person in the world with it 🙂
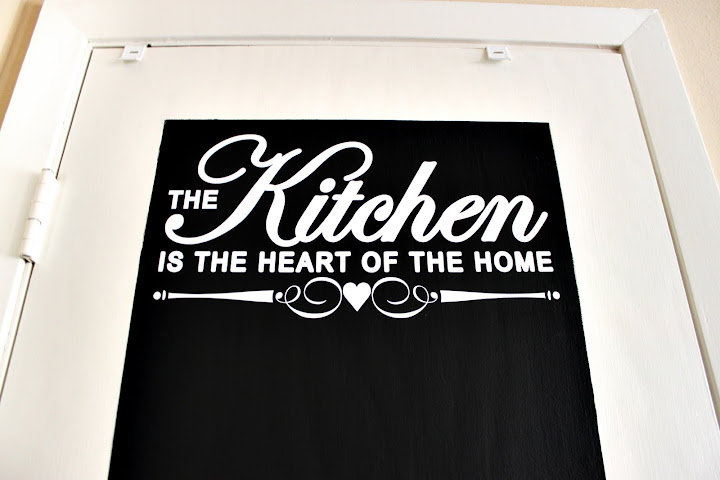 After the three days of letting the chalkboard paint cure, the directions say to place a layer of chalk over the top of it.
Here is the door covered in chalk.
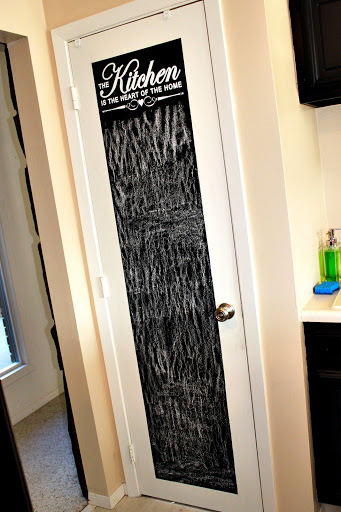
And wipe it off with a dry cloth.

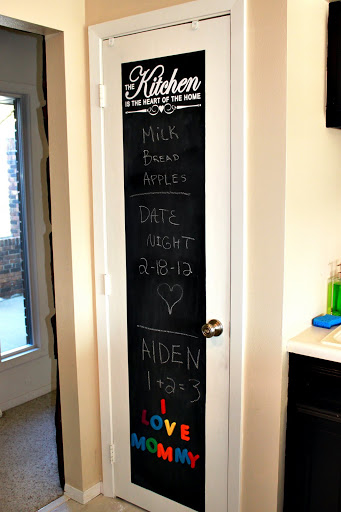
Aiden isn’t quite old enough to know how to use chalk, he more eats it then anything, but I think eventually he will love drawing on this door. He plays with the magnets while I cook, which has been a nice distraction to him trying to go through my cupboards. The hubby likes the door because it’s a good way to keep track of what we need to buy at the grocery store next time we go. It has become a real lifesaver around the kitchen and I am glad to have another project checked off my list of things to do around the house!

Like this post?
Pin It